
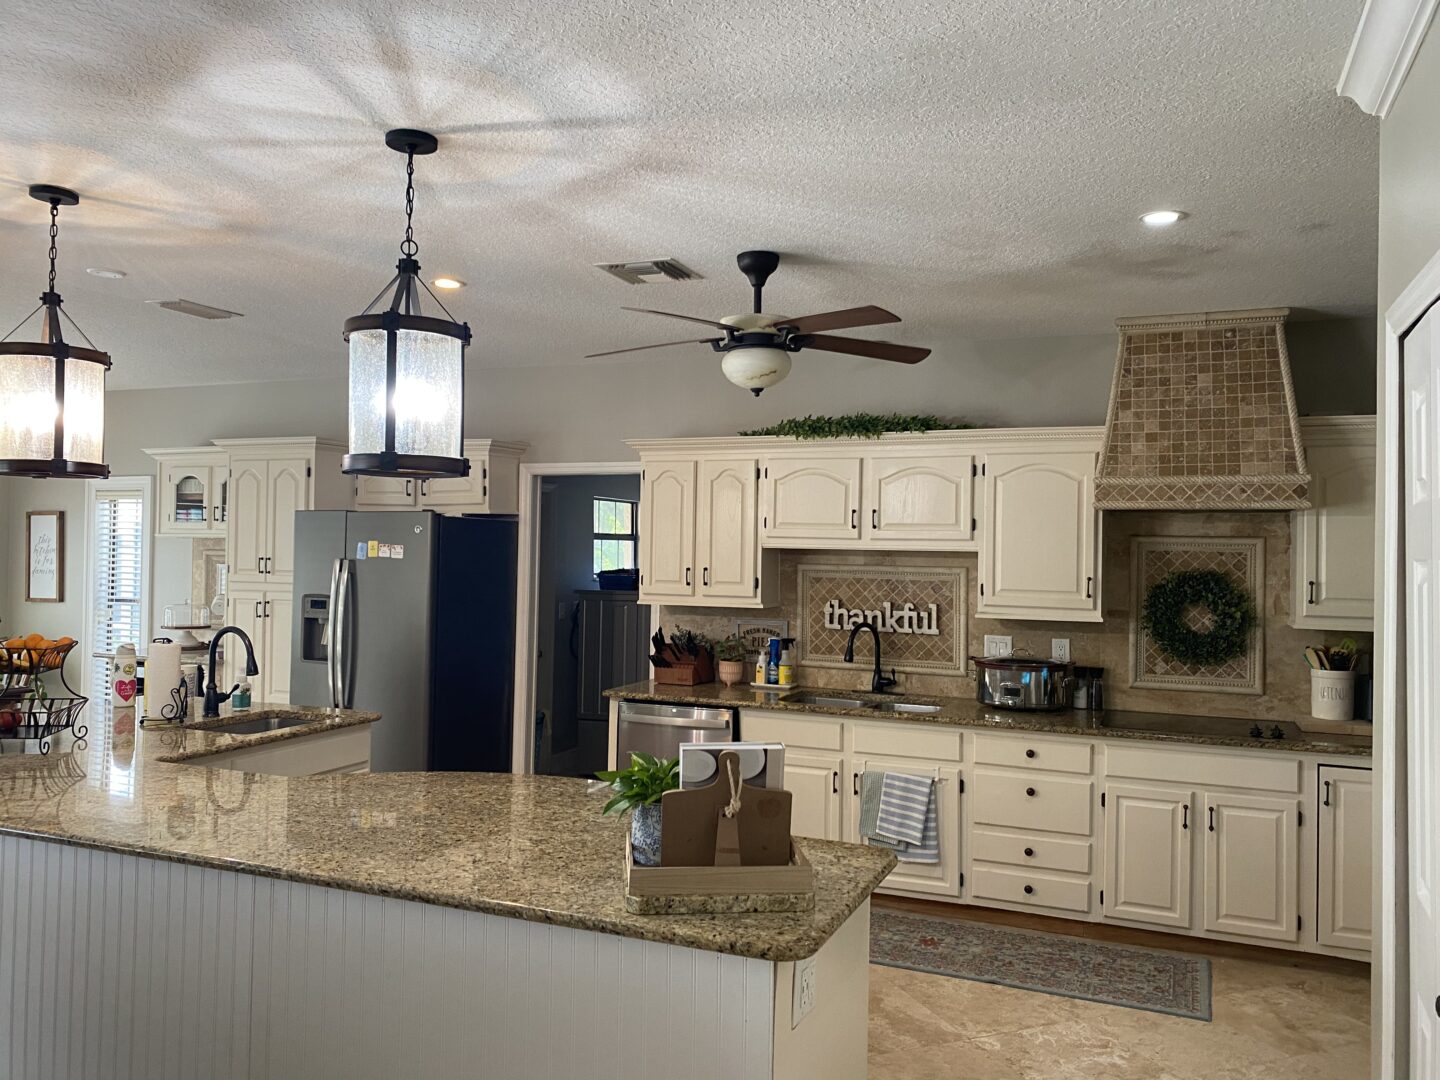
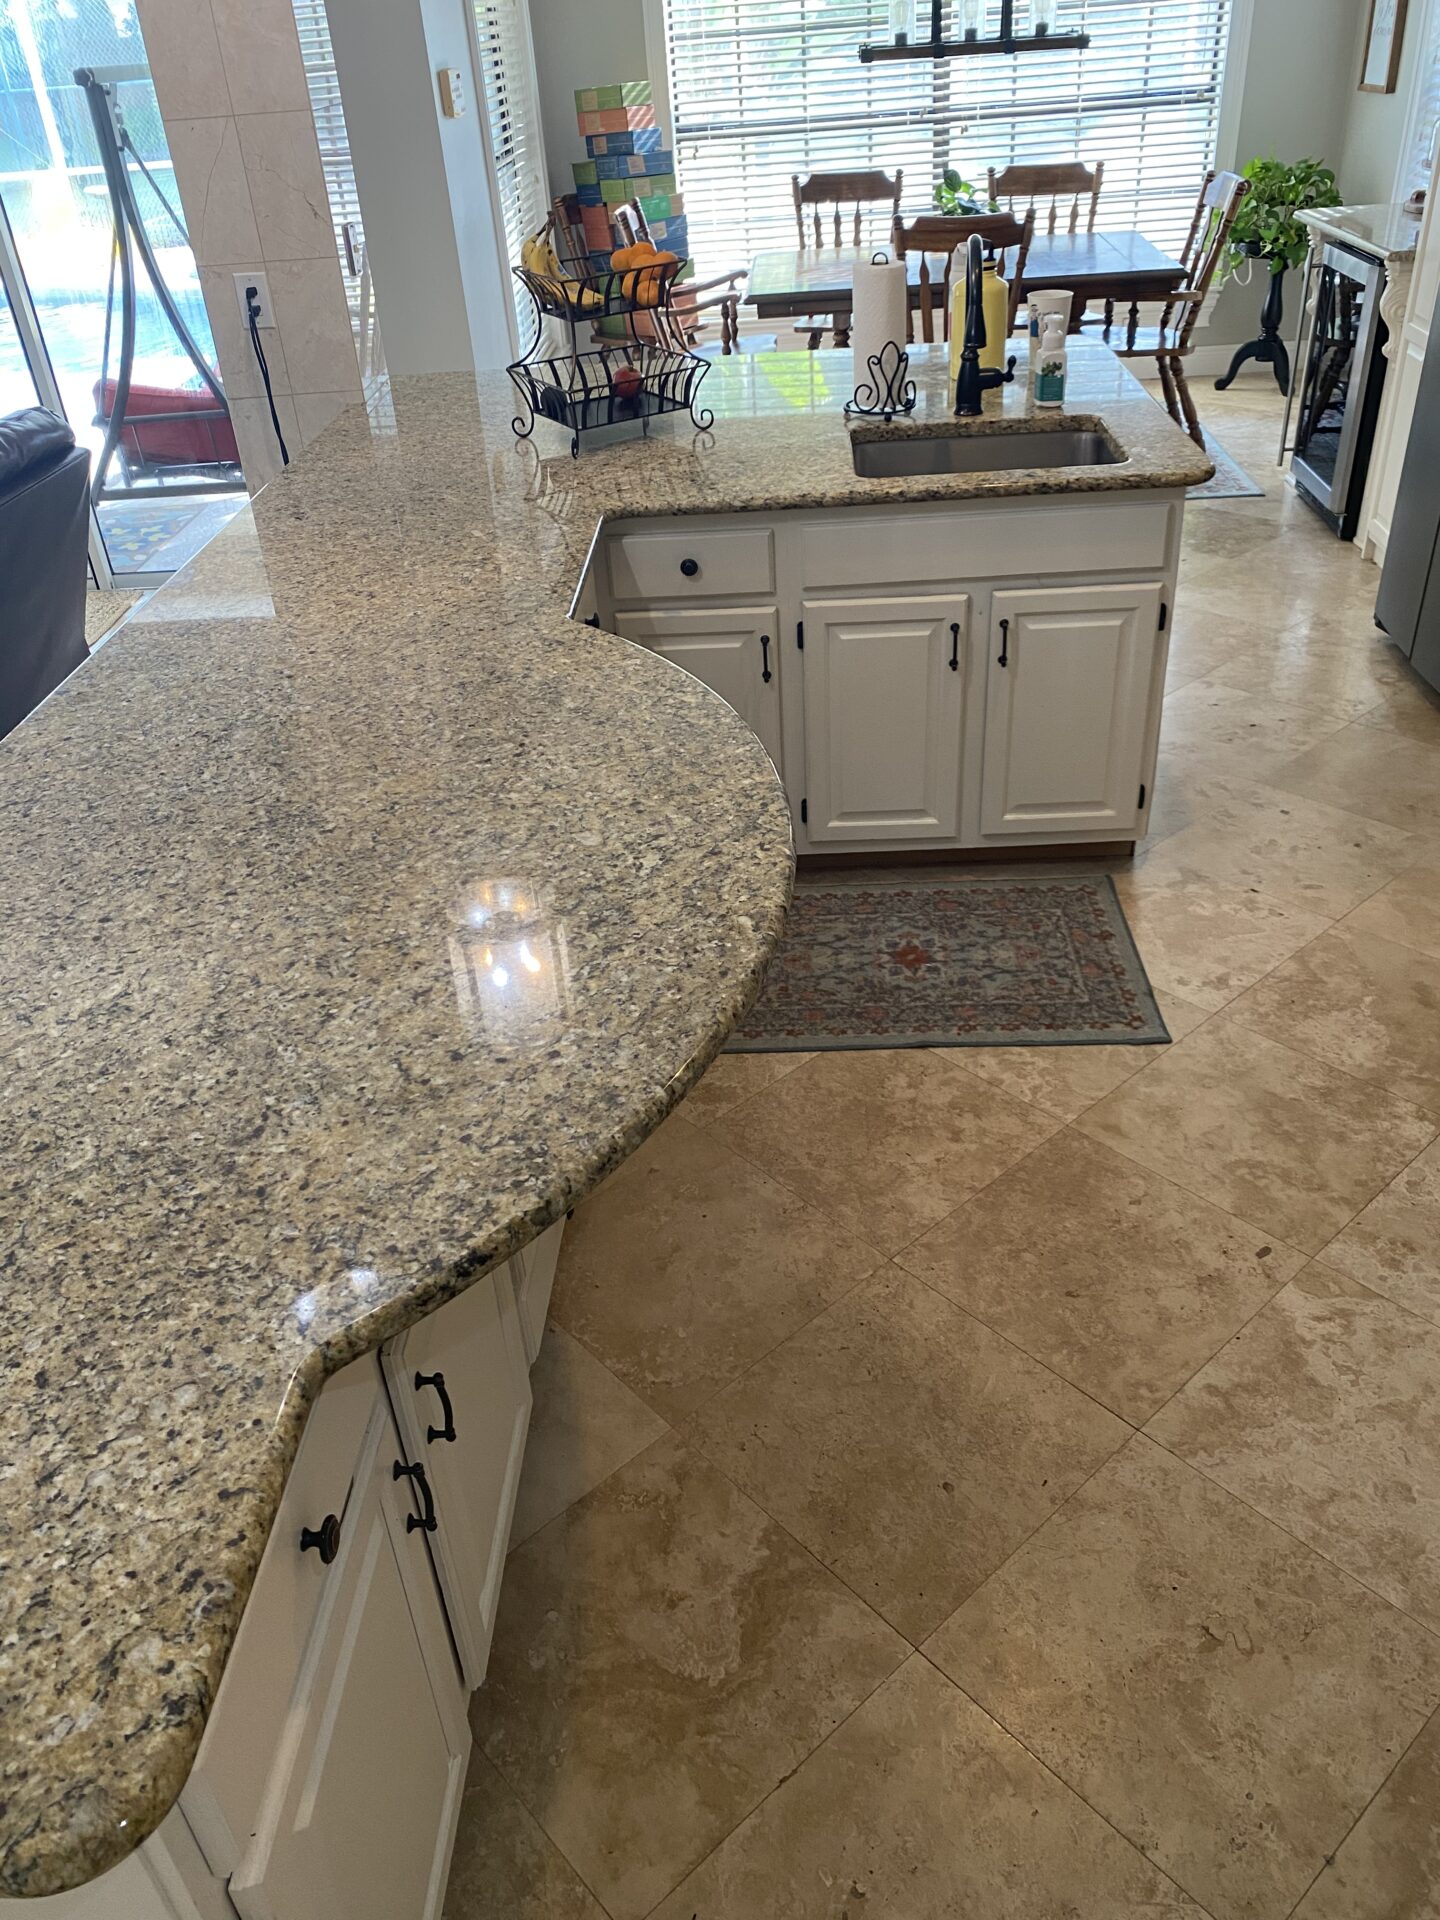
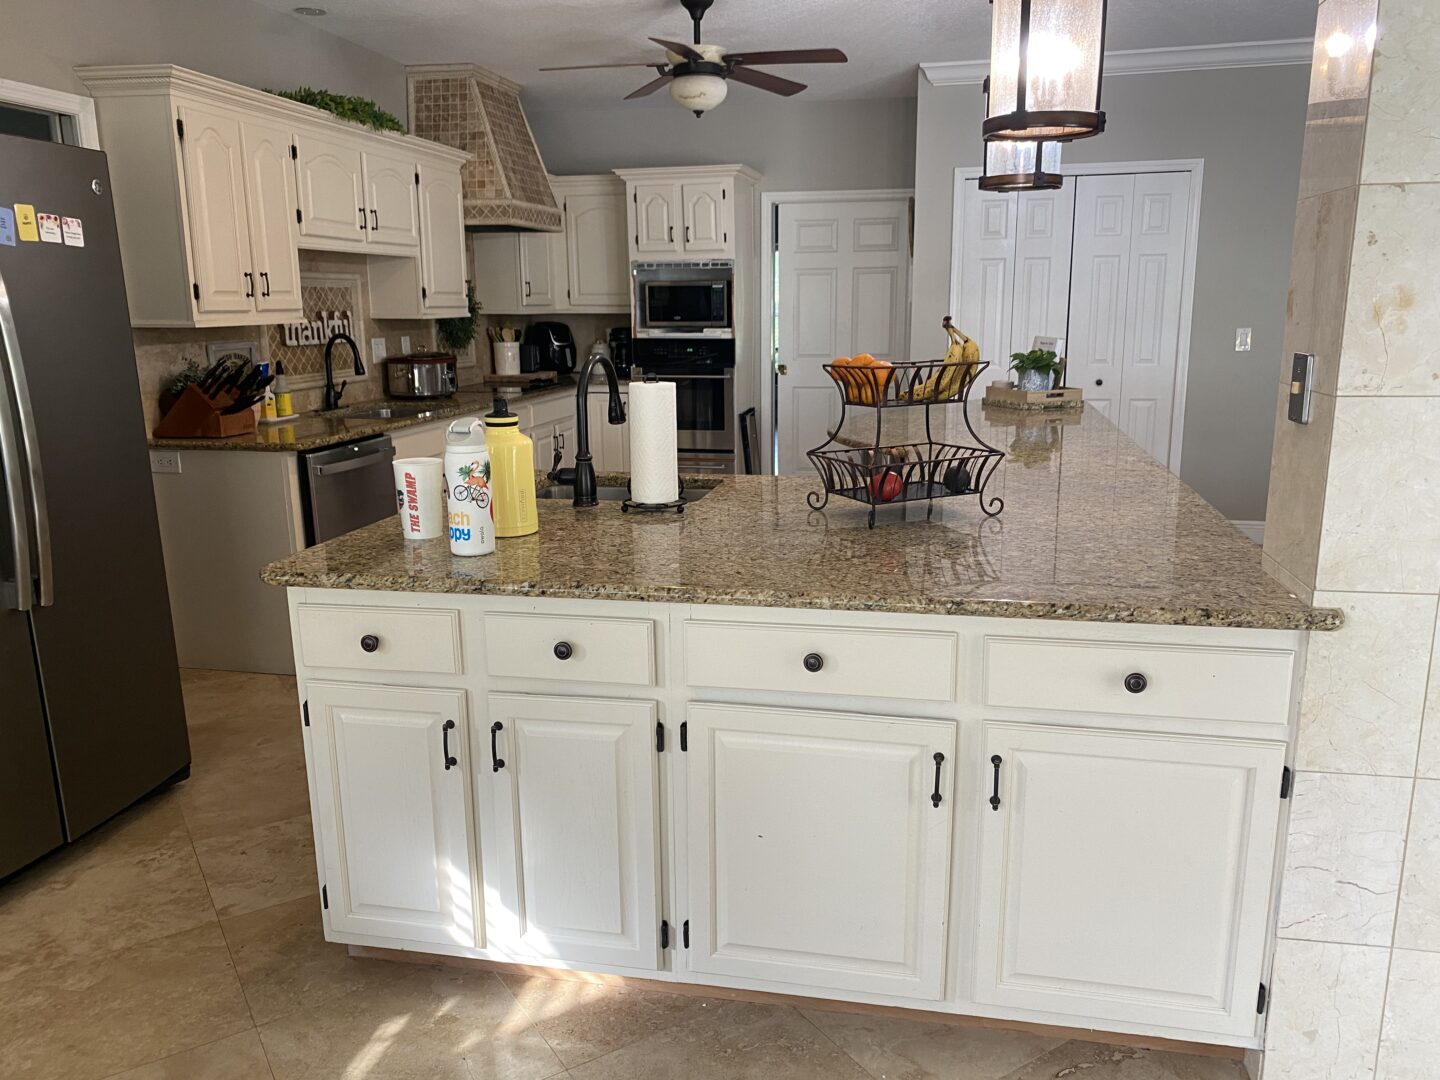
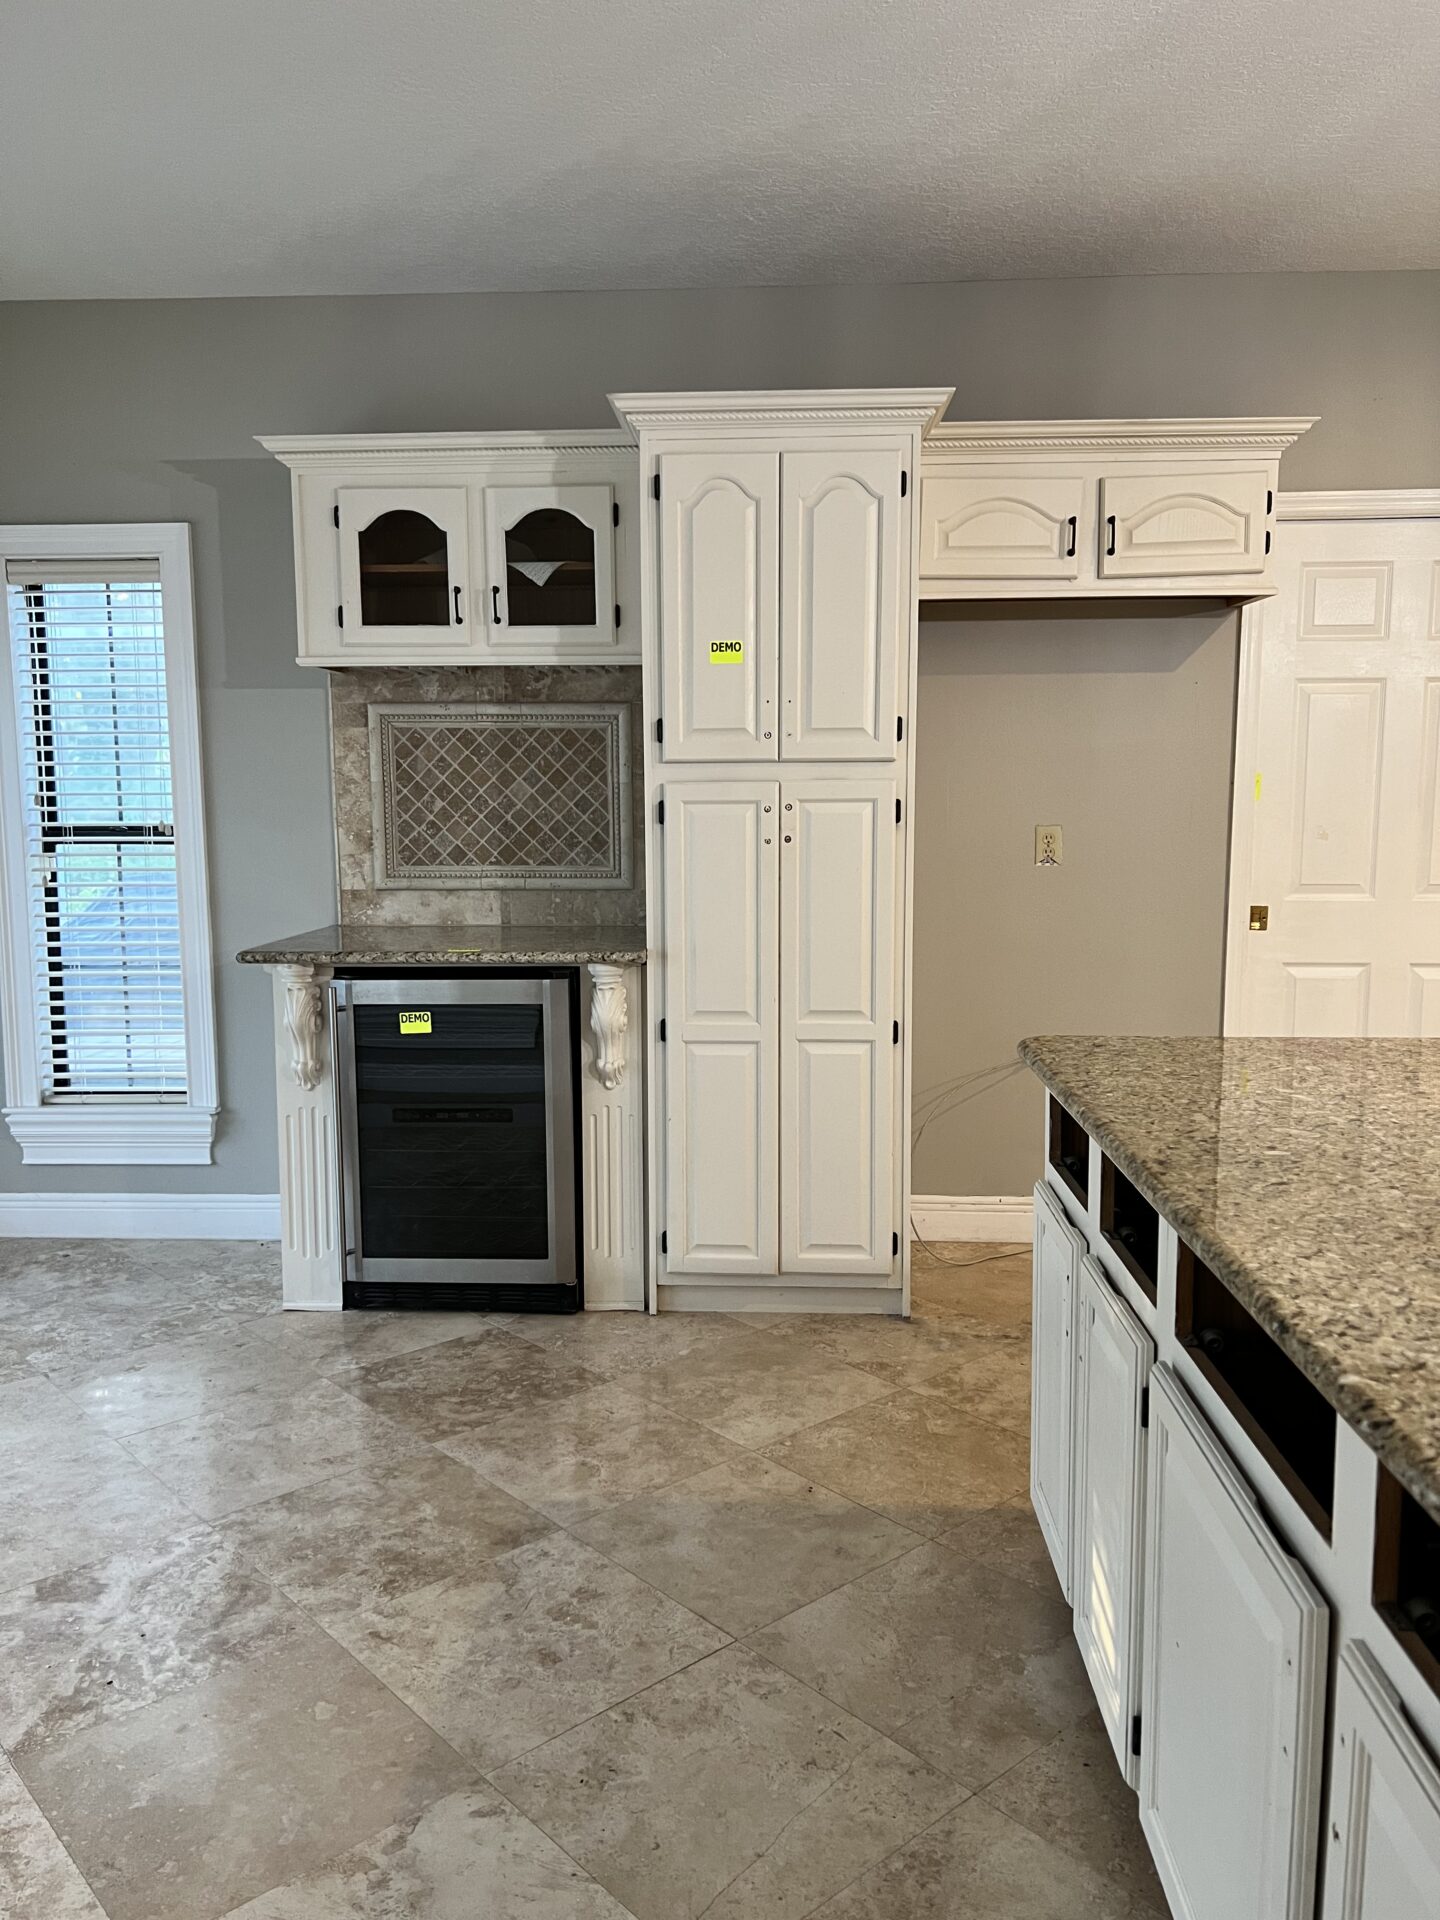
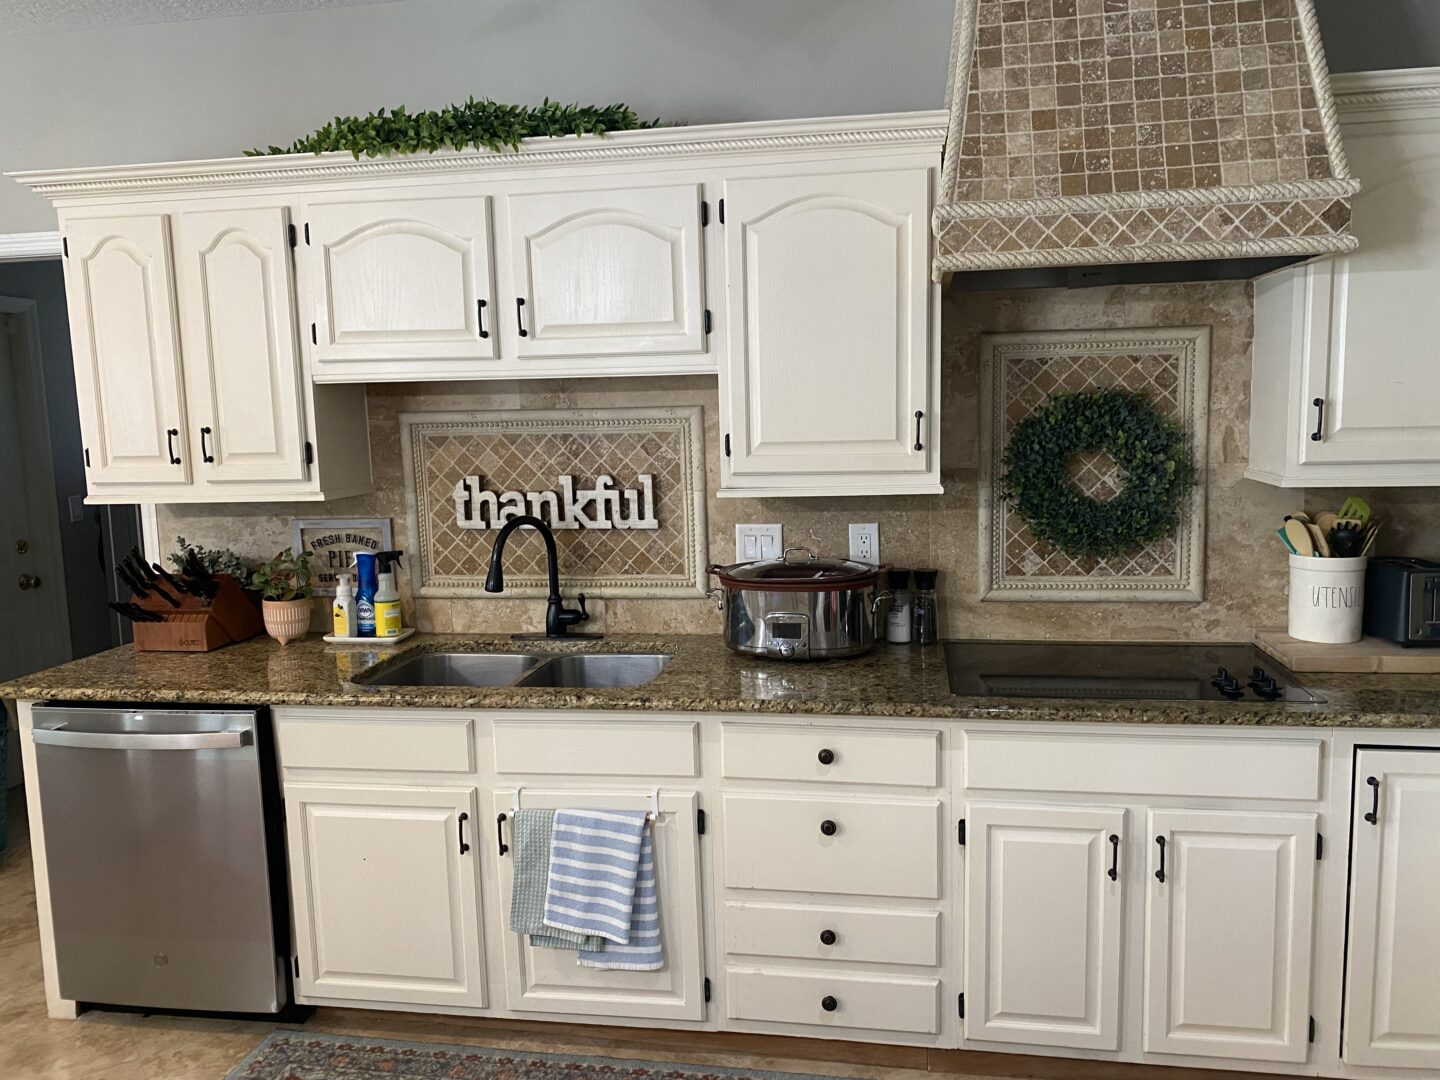
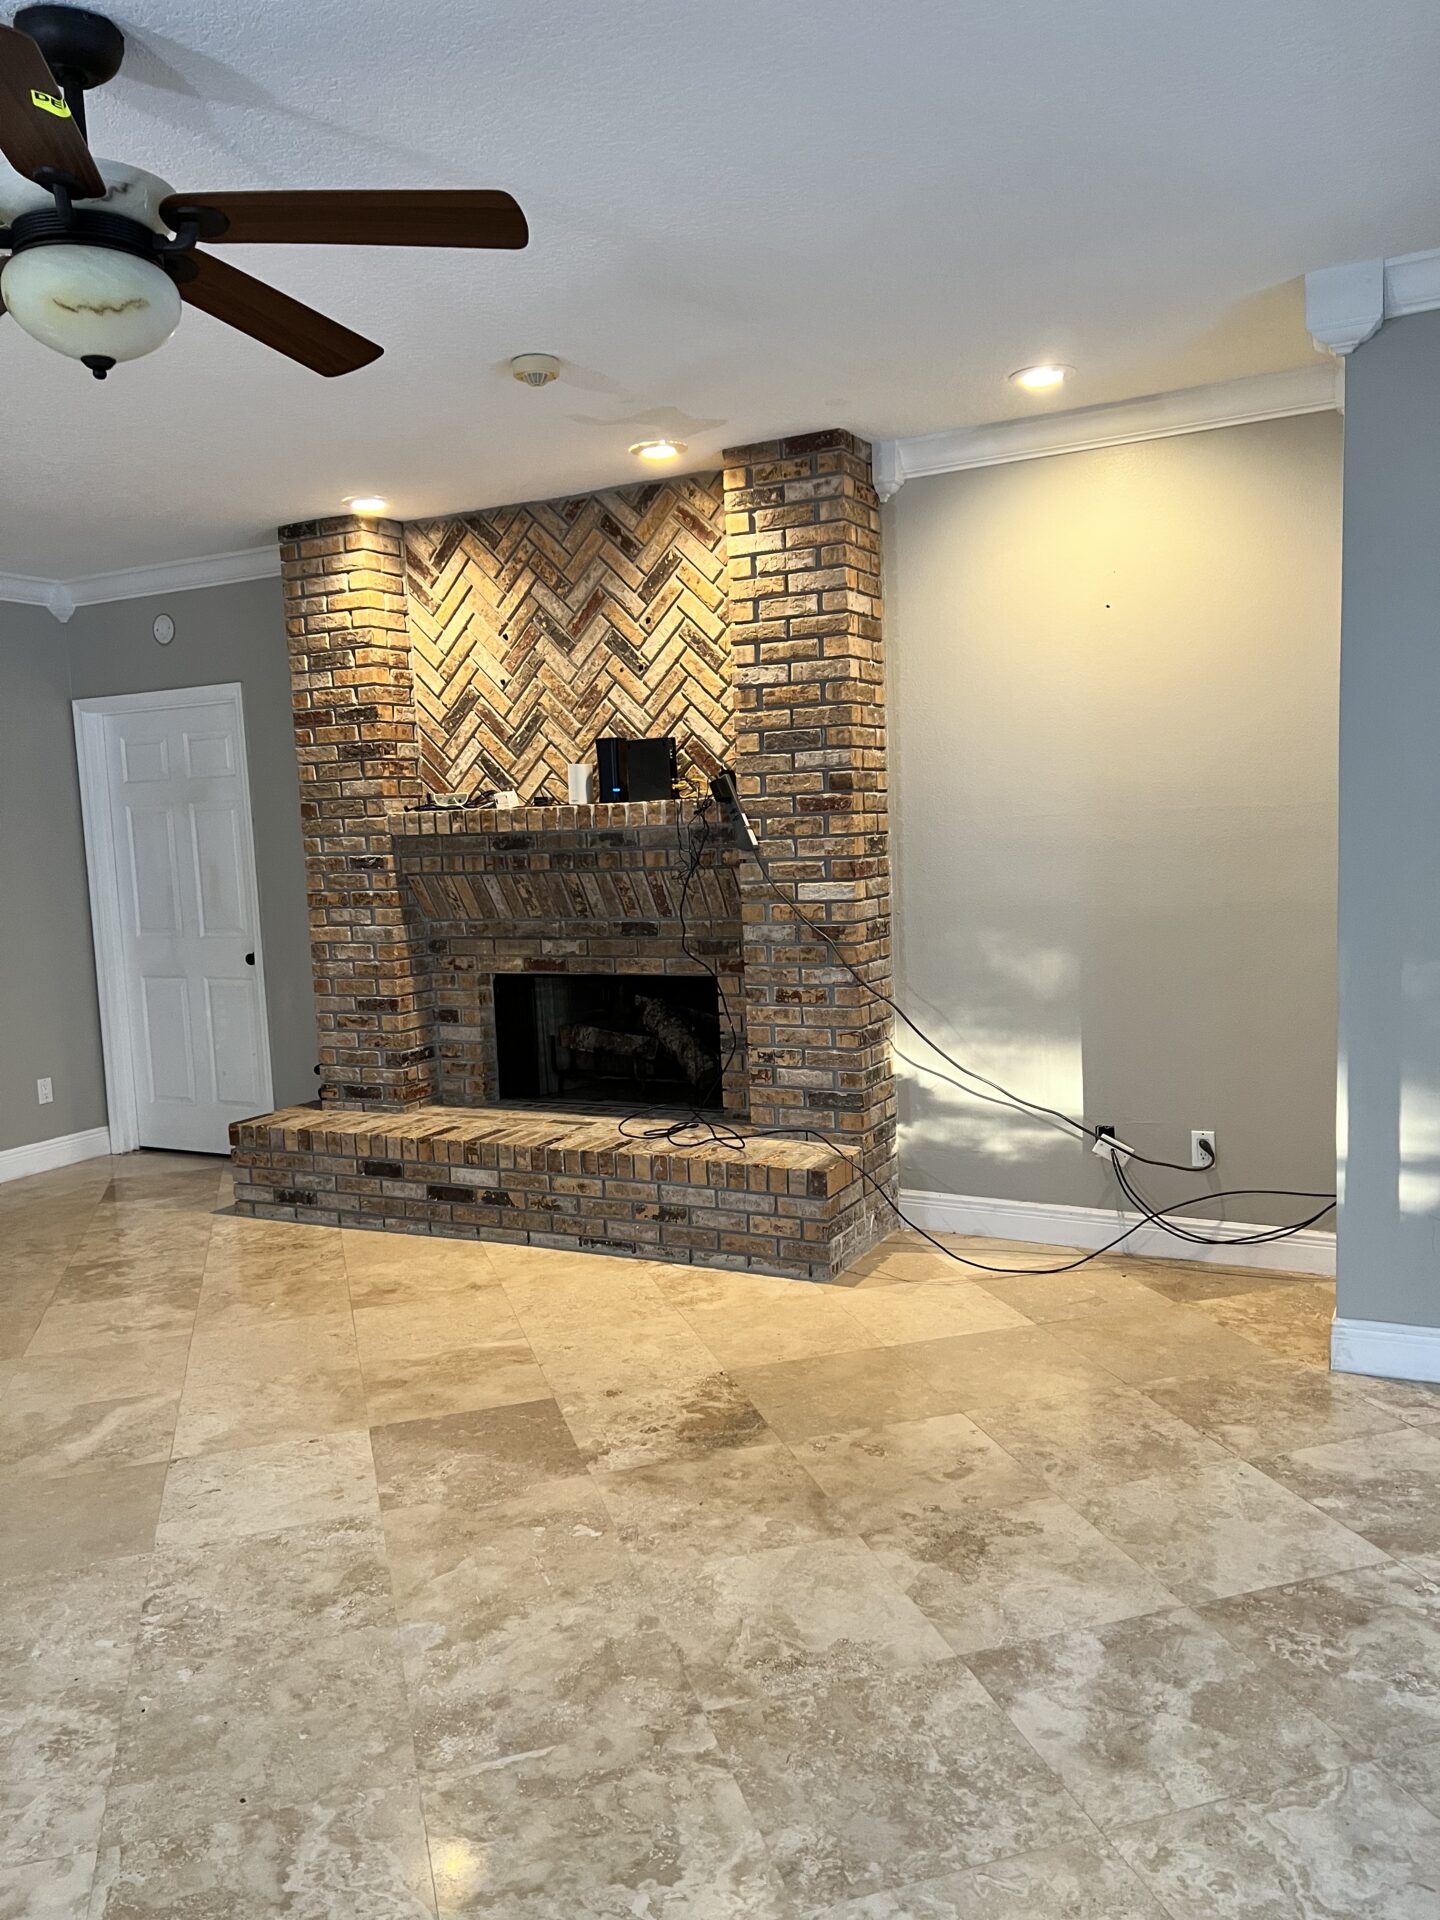
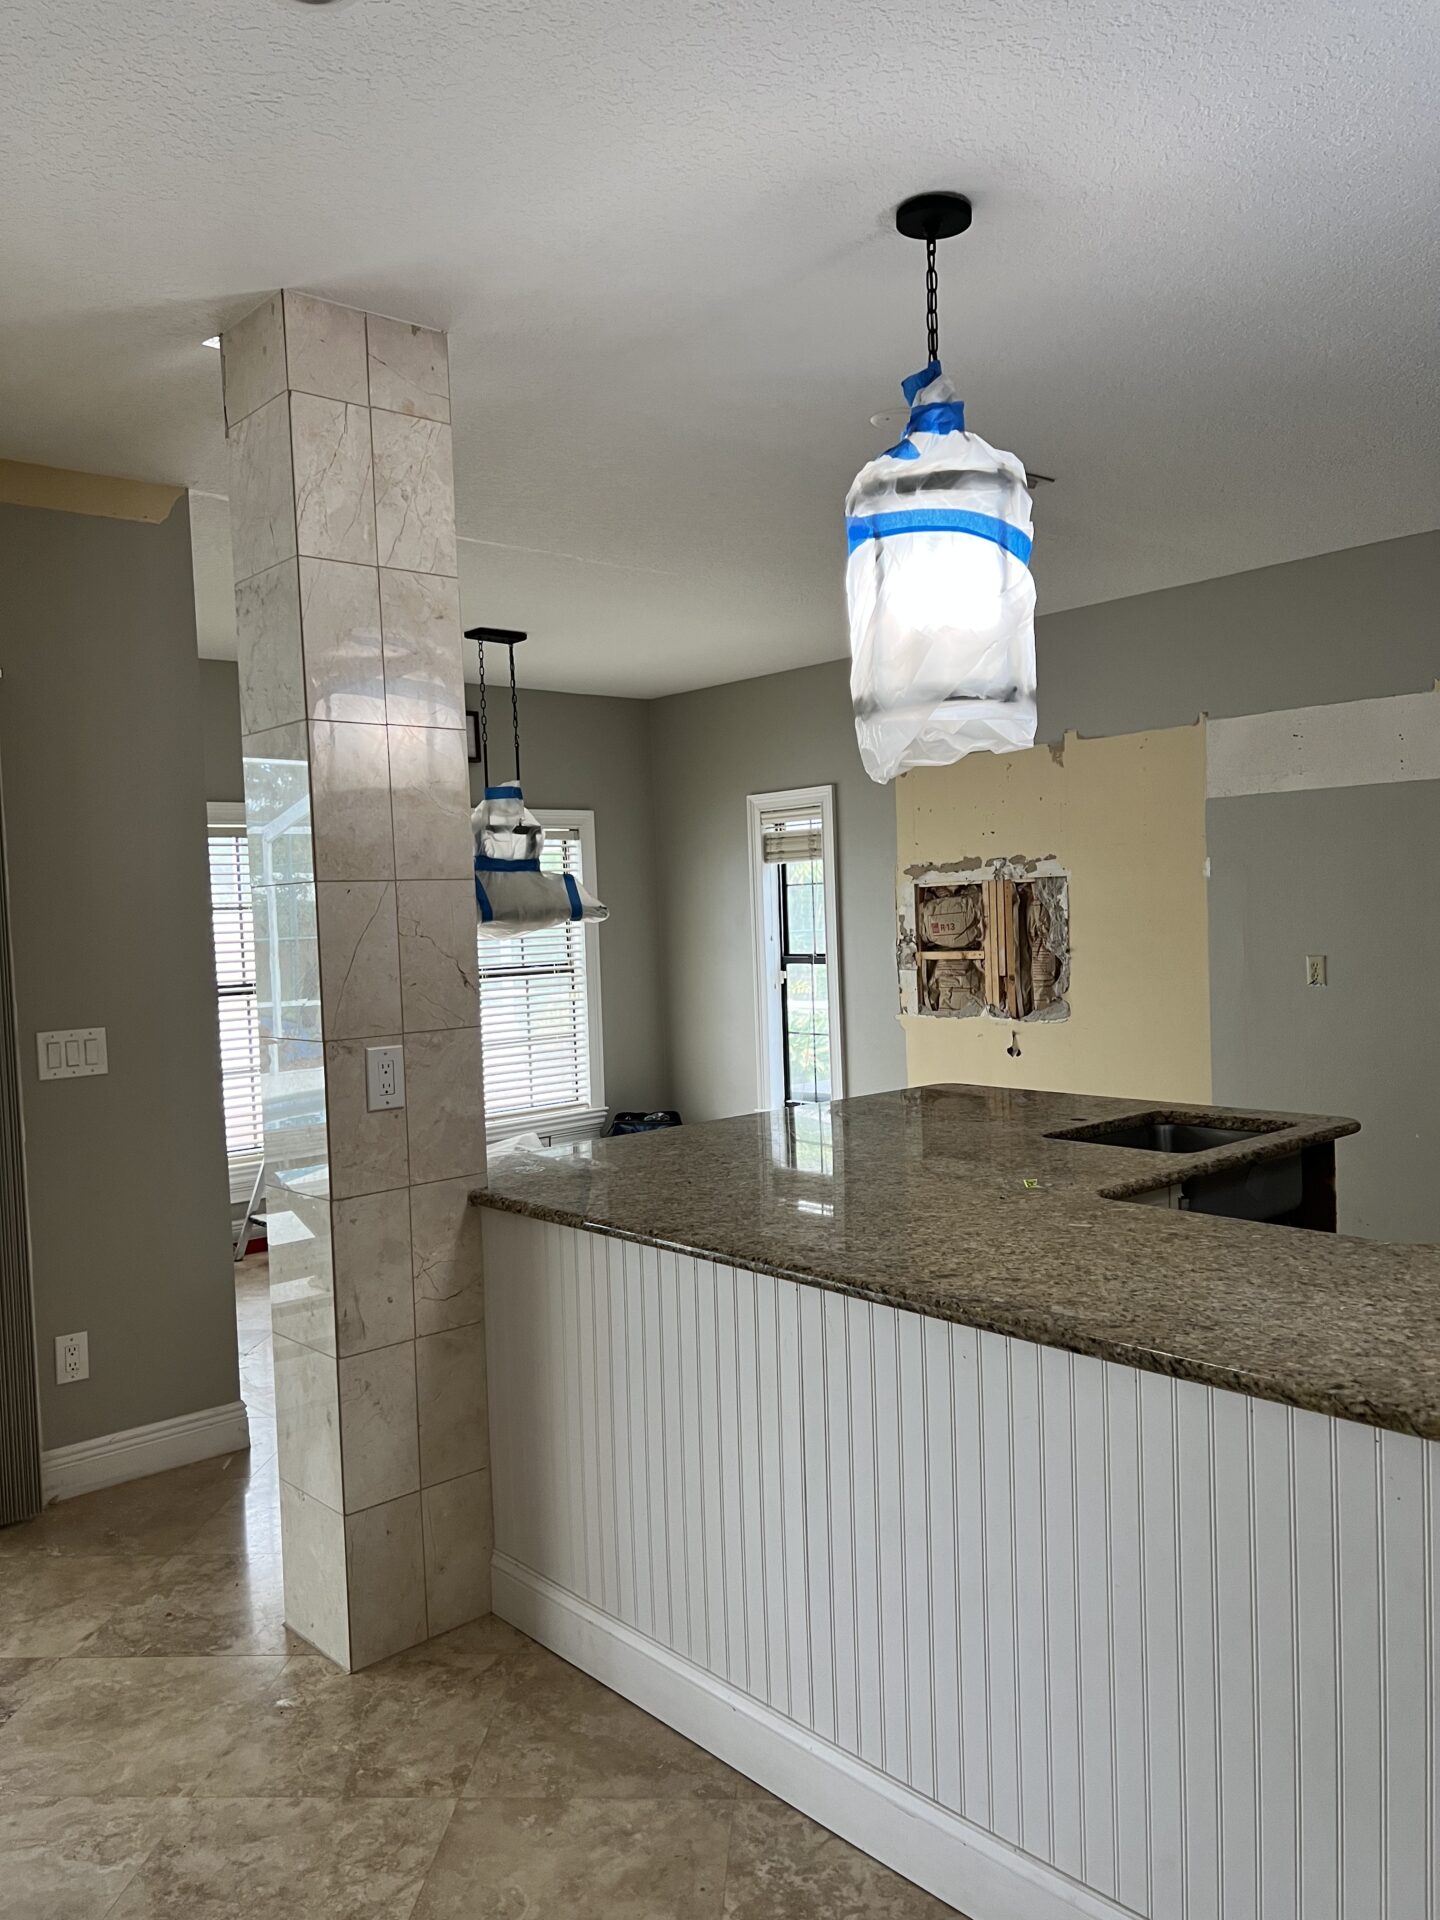
The long awaited Before & After Kitchen Renovation post is finally here!! If you follow me on Instagram or YouTube you already know that almost a year ago now, we did a FULL Kitchen remodel on our home. In addition to the kitchen, we upgraded doors, flooring, paint and a half bathroom in the downstairs of our home. When we bought this home 5 years ago we knew this renovation was going to need to happen. From a distance the kitchen didn’t look all that bad….but cabinets were falling off the walls, drawers were coming out every time they were opened, only some of our burners on the stove worked and the kitchen was designed in a way that was not functional. Here are a few before pictures to give you a little bit of an idea….
A BIG thanks to Verona Appliances for partnering with me on today’s blog post!
We wanted to wait until we had lived in our kitchen for a few years before starting to design the renovation. We wanted to get a feel for how this space lived. I truly believe the kitchen is the heart of the home and the room where day to day life is mostly spent. Living in a home while it’s undergoing this type of renovation is not easy. It’s long, messy and frustrating at times BUT I’m so glad we waited! I was able to take my design and inspiration over to a local company to have the process put into motion. Stevens Kitchen, located here in central FL took my vision and created our dream kitchen!
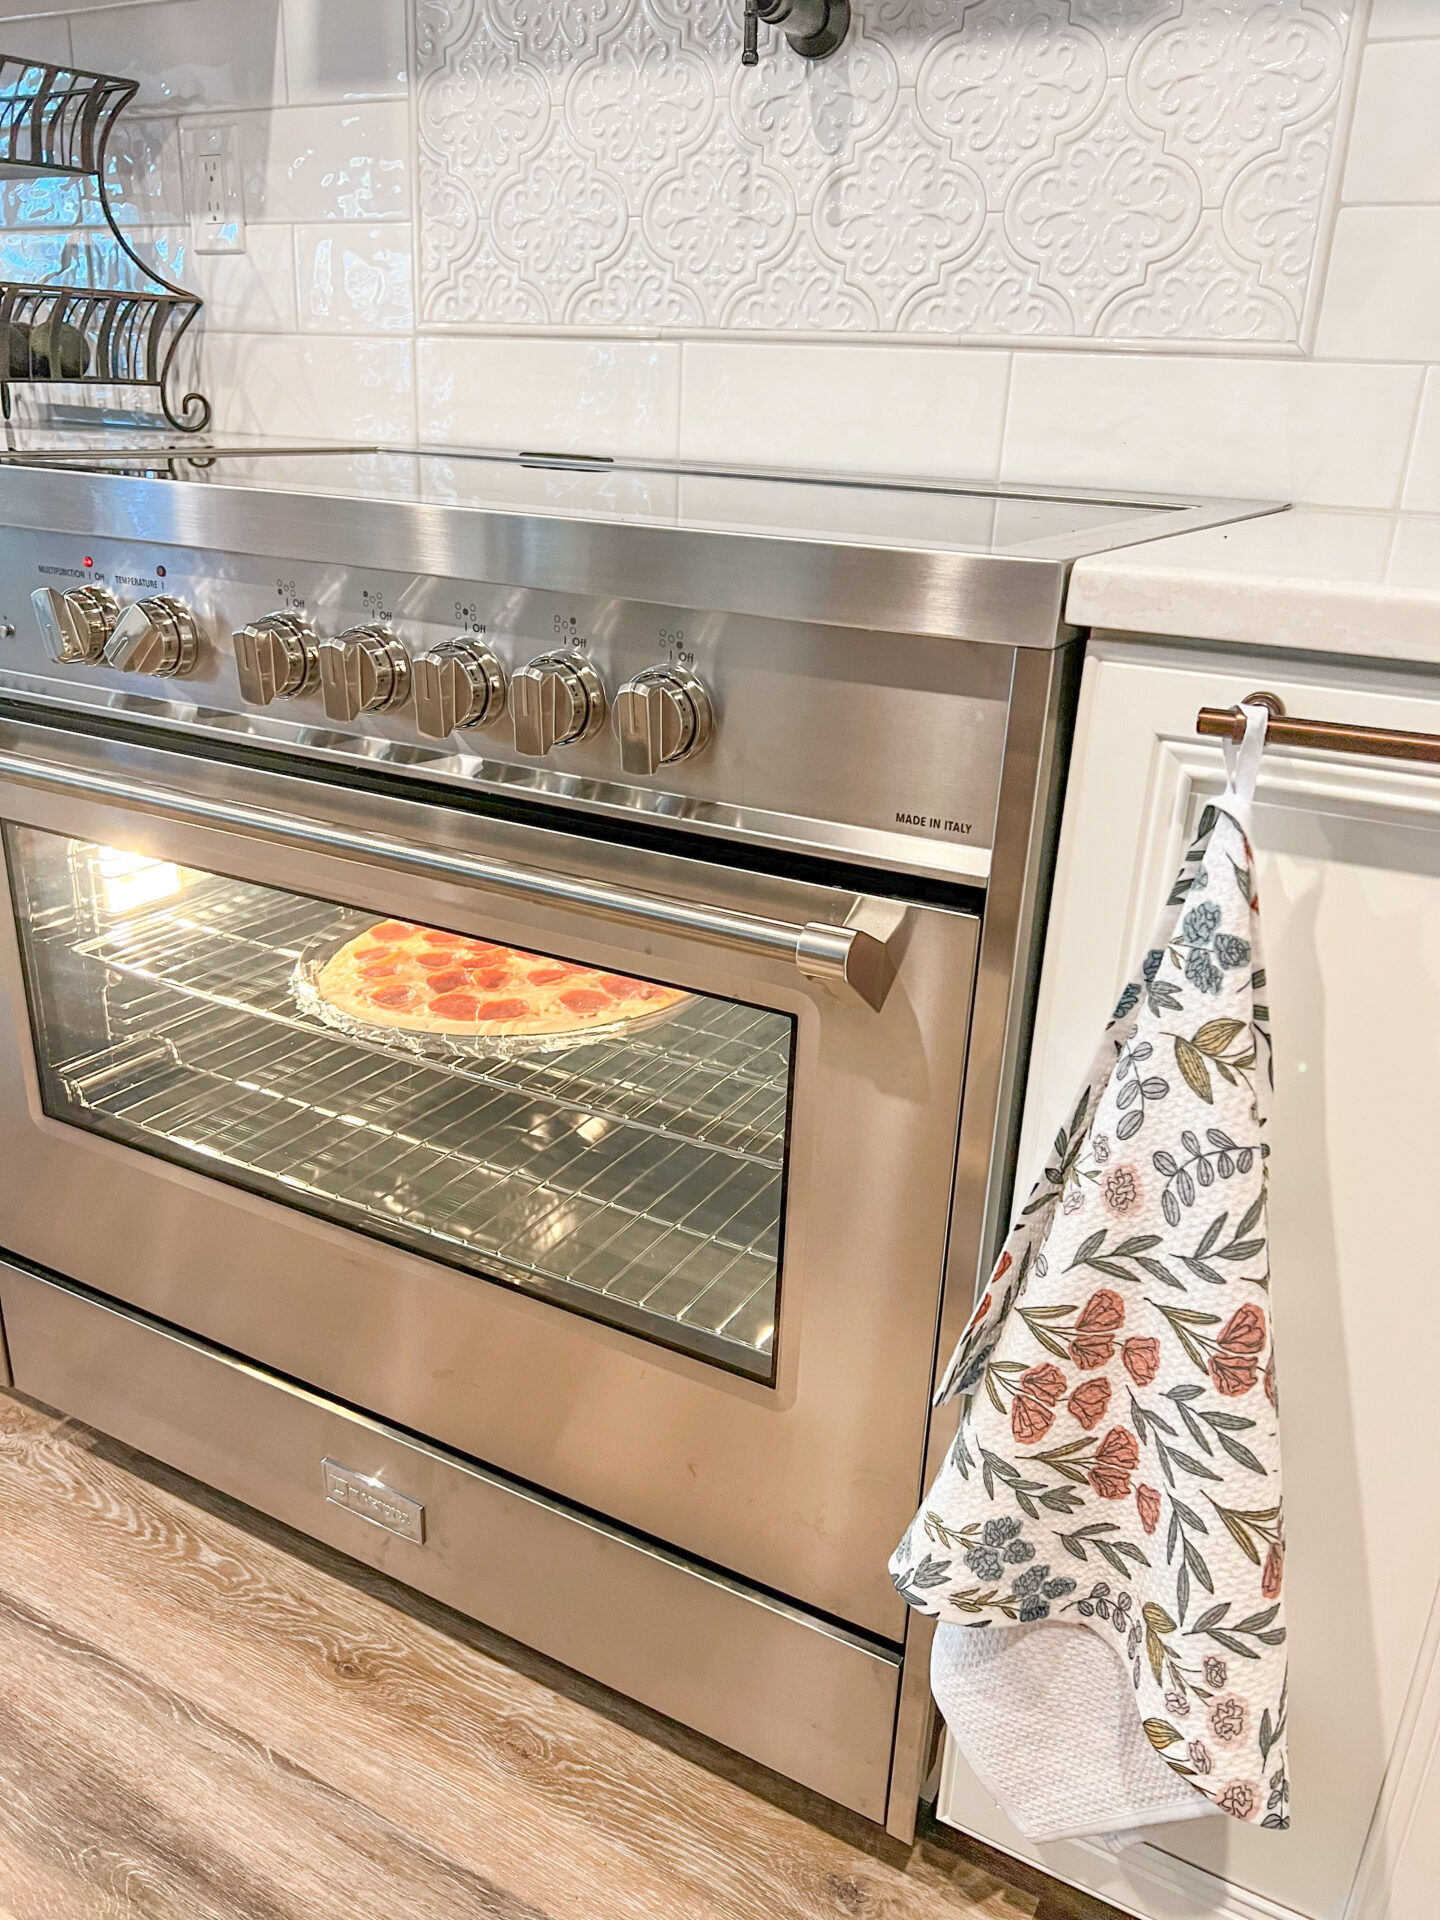
Let’s Talk Appliances!
Selecting appliances for this renovation was probably the most overwhelming part of the selection process. Some appliances I was very specific in the function and design we were going for while others I remained completely lost. After using the appliances for a few months now, I can honestly say that I am more than happy with our selections! I did a FULL blog post dedicated to the appliances HERE. Please feel free to check it out if you’re interested in details and links to the appliances we selected.
Let’s Talk Kitchen Work Flow!
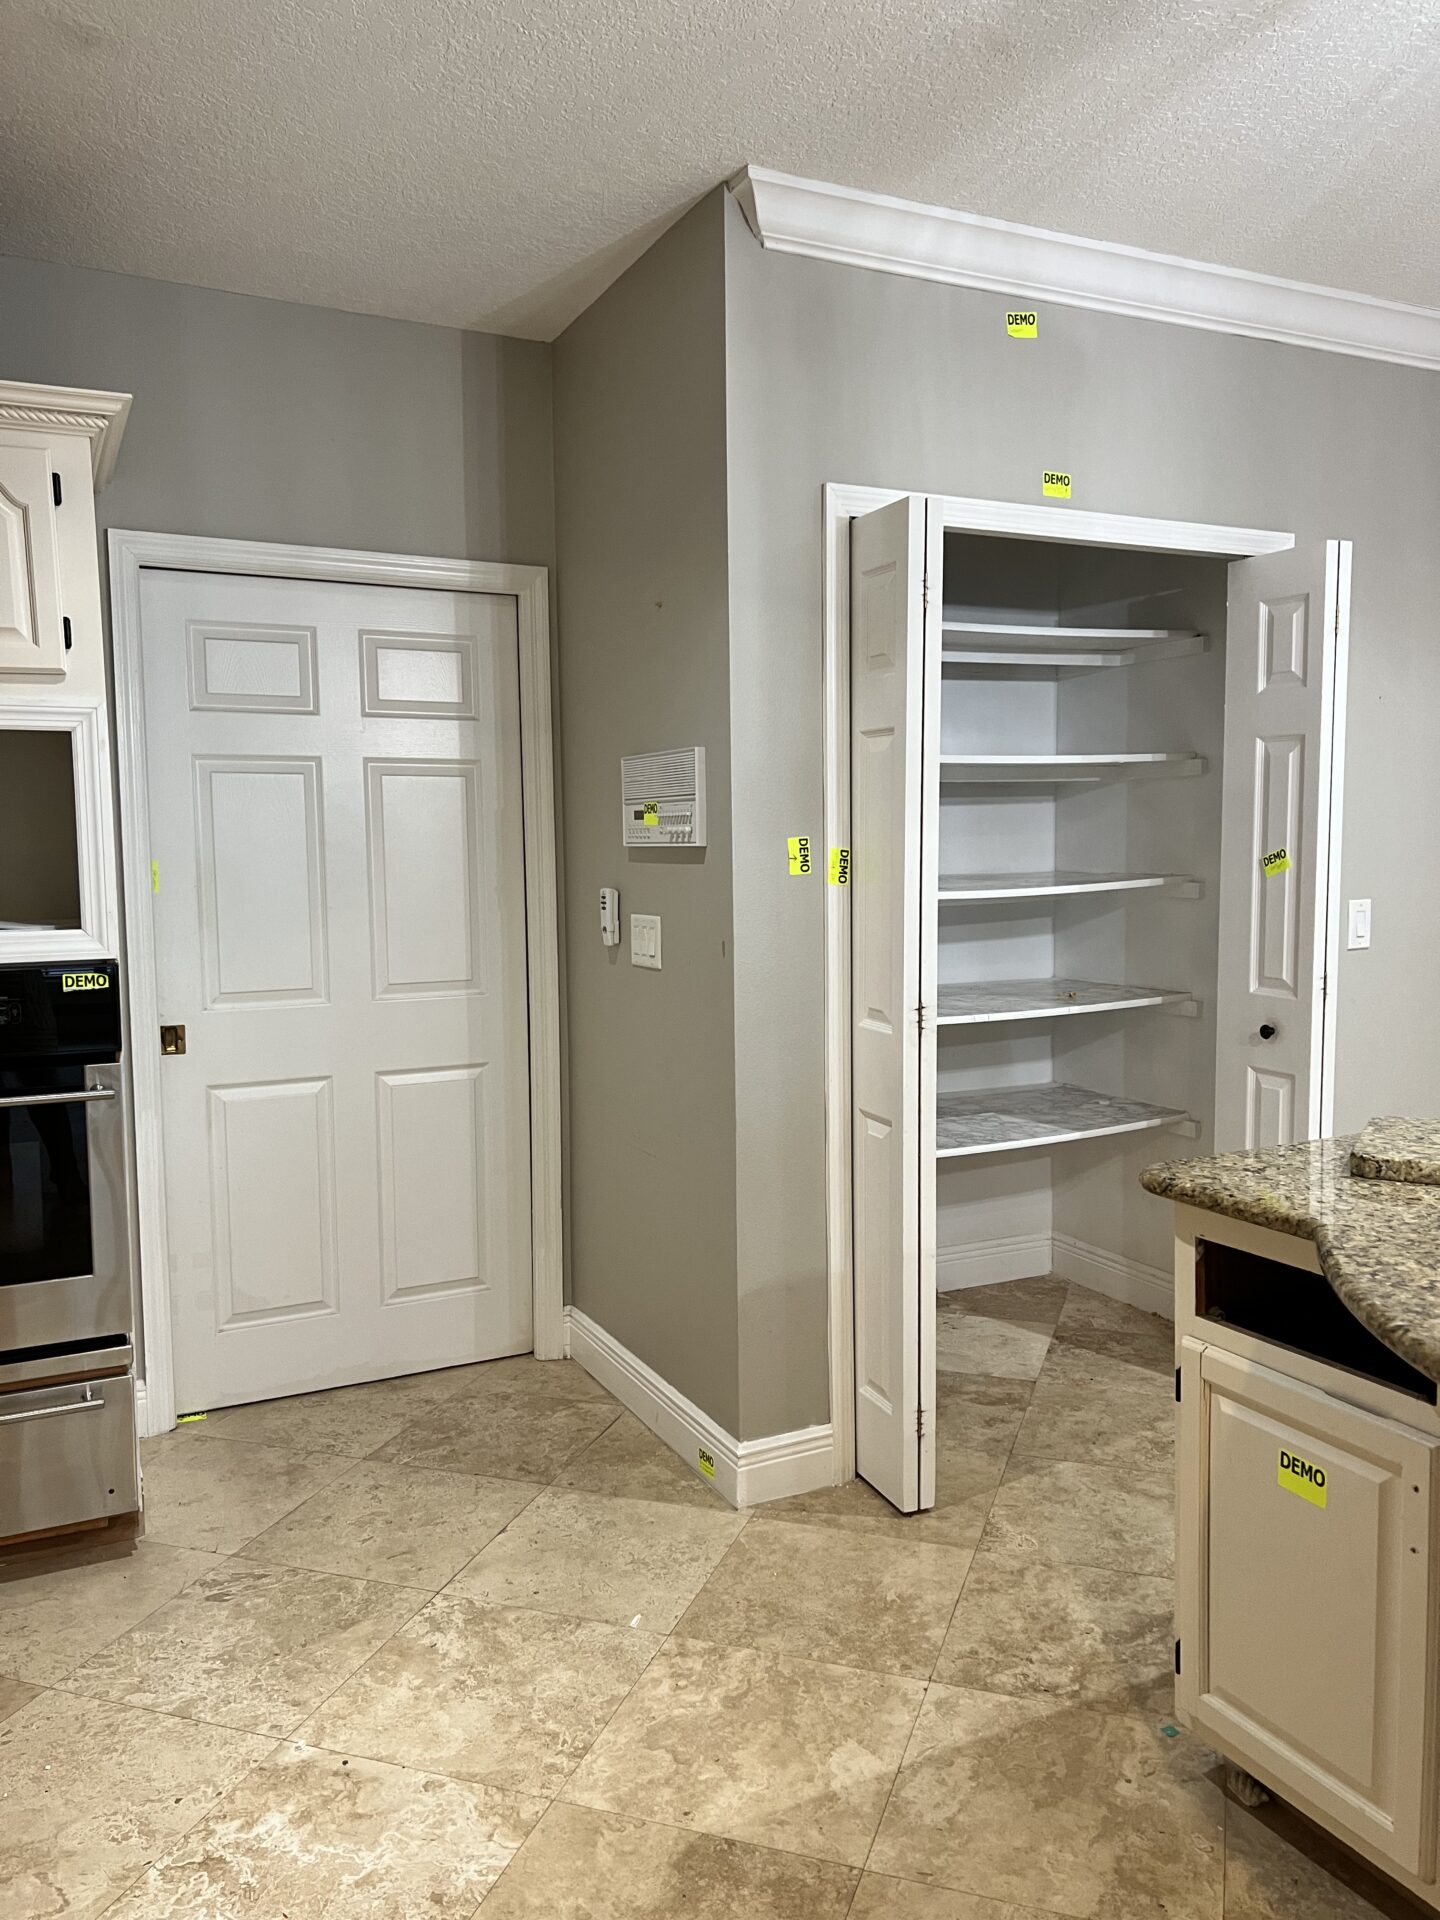
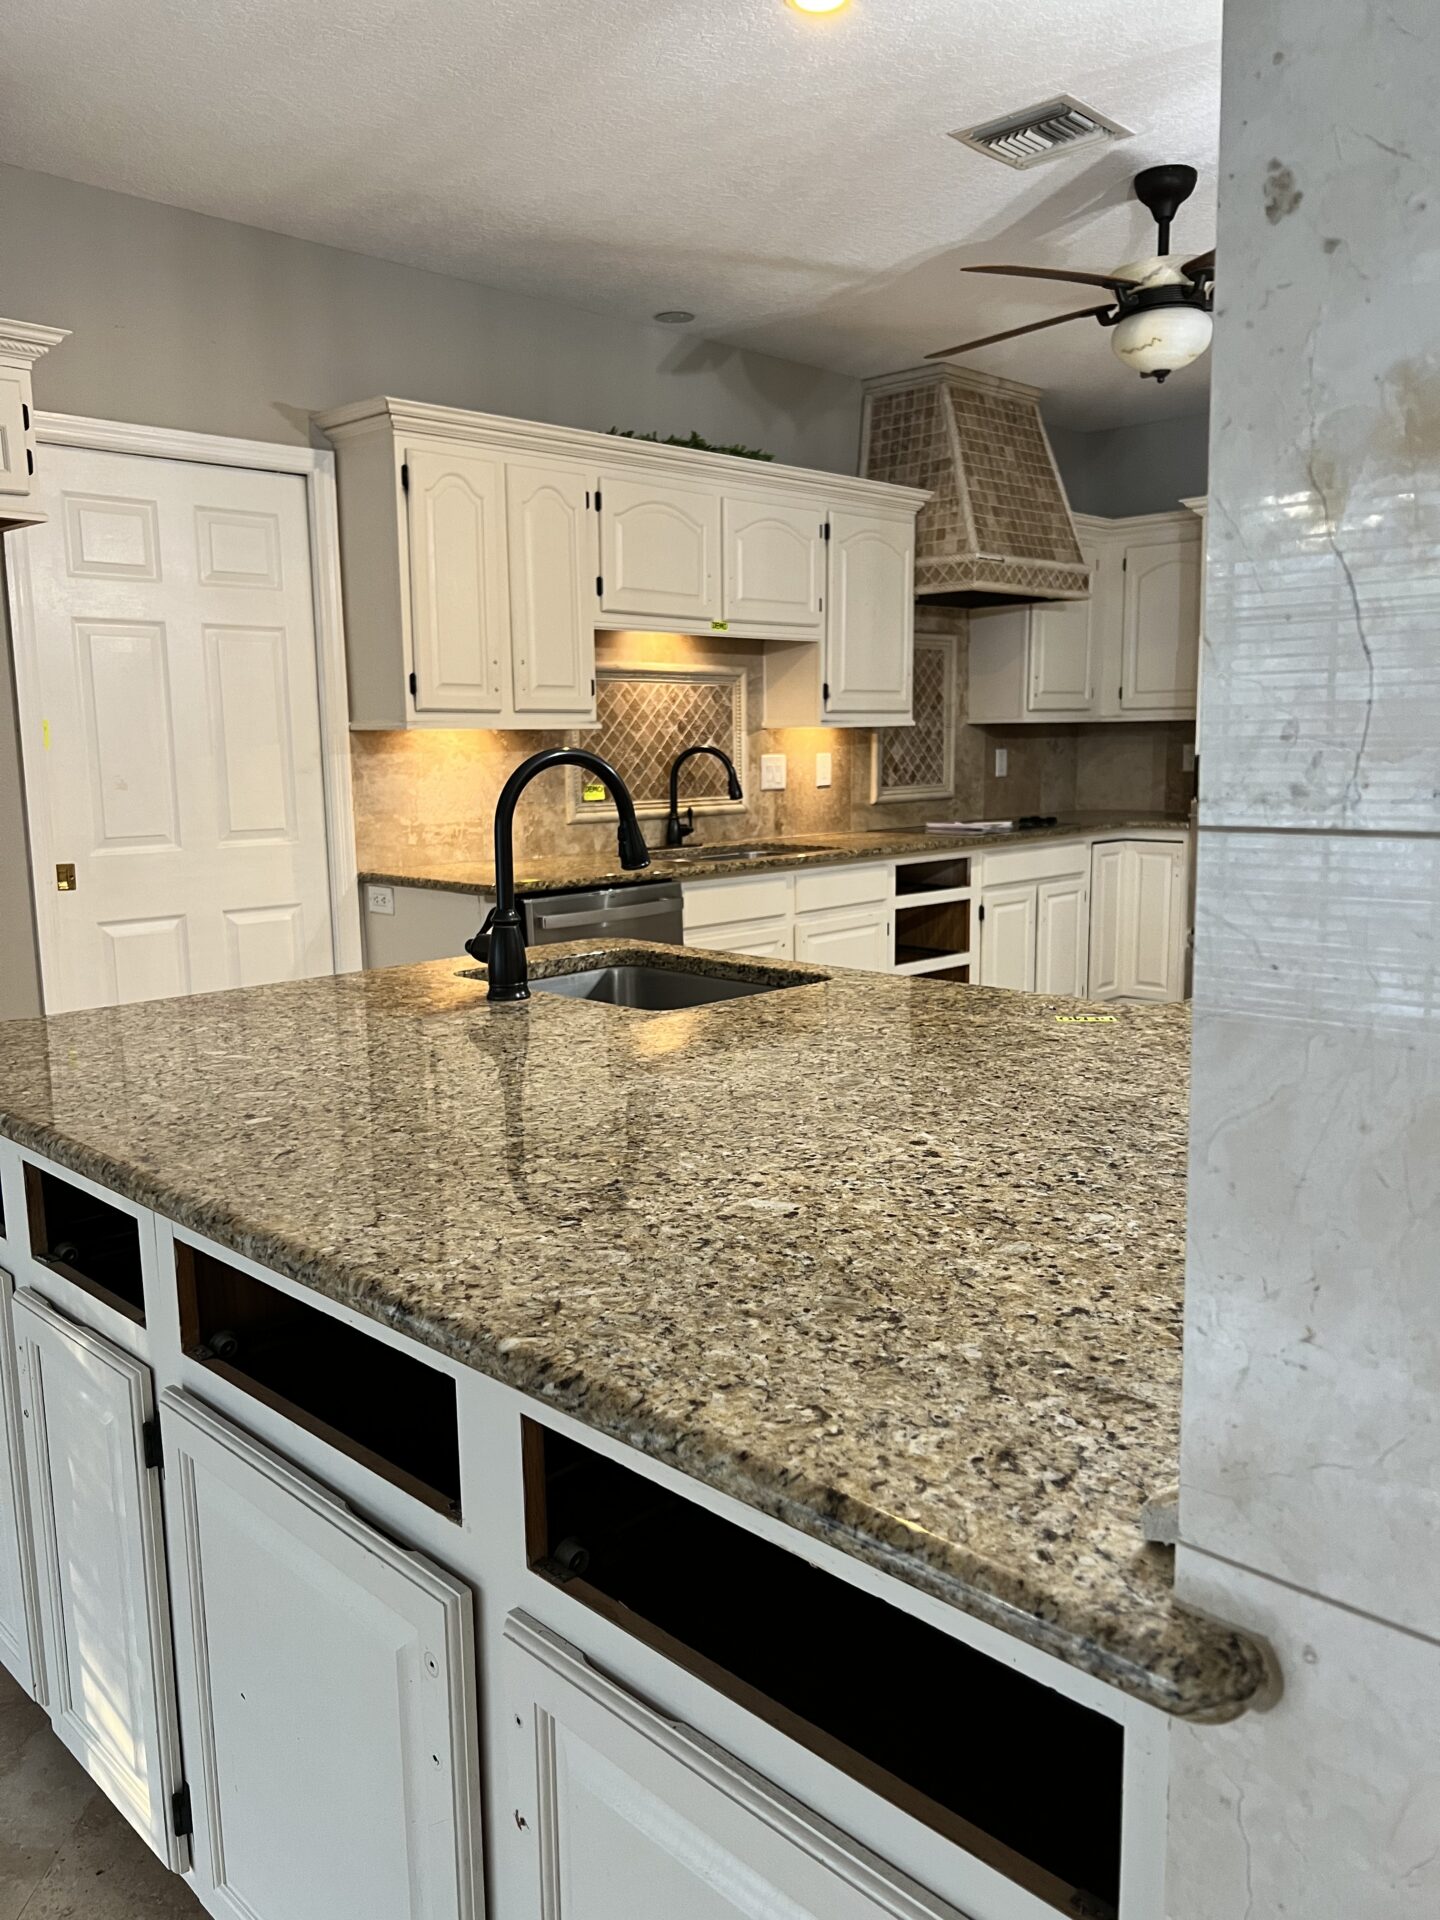
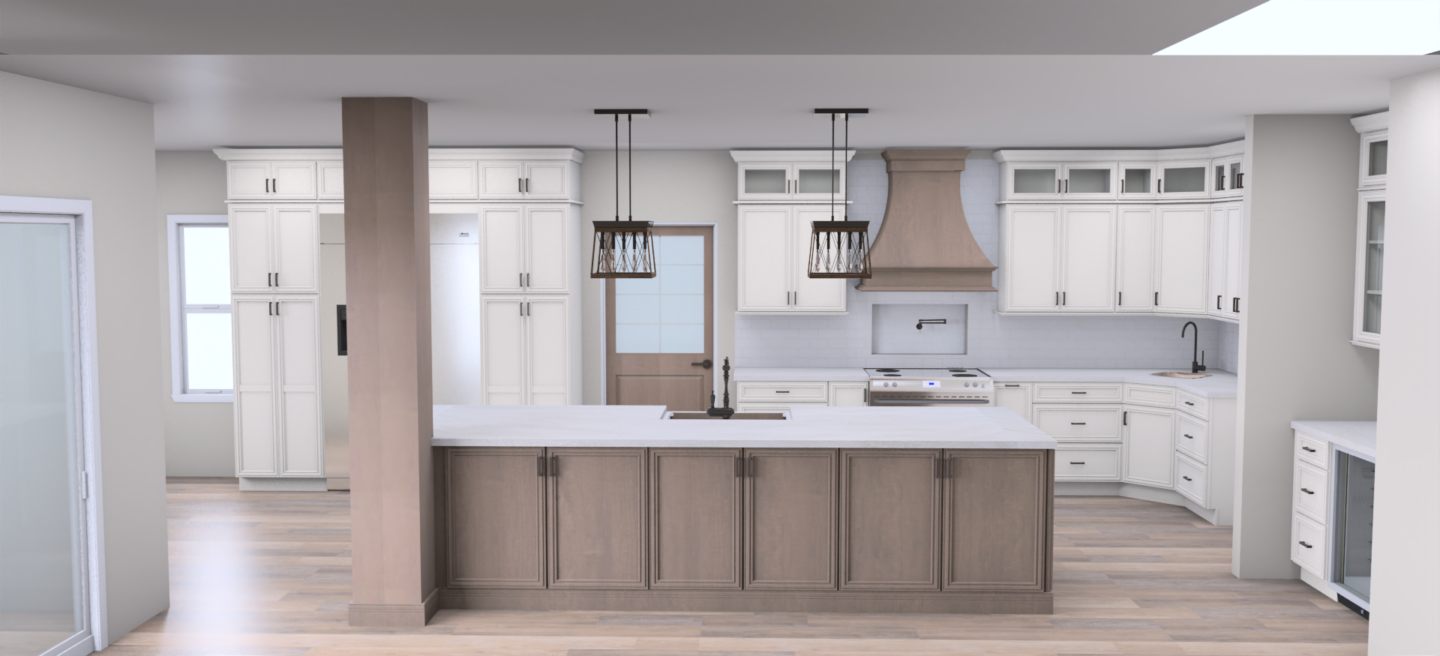
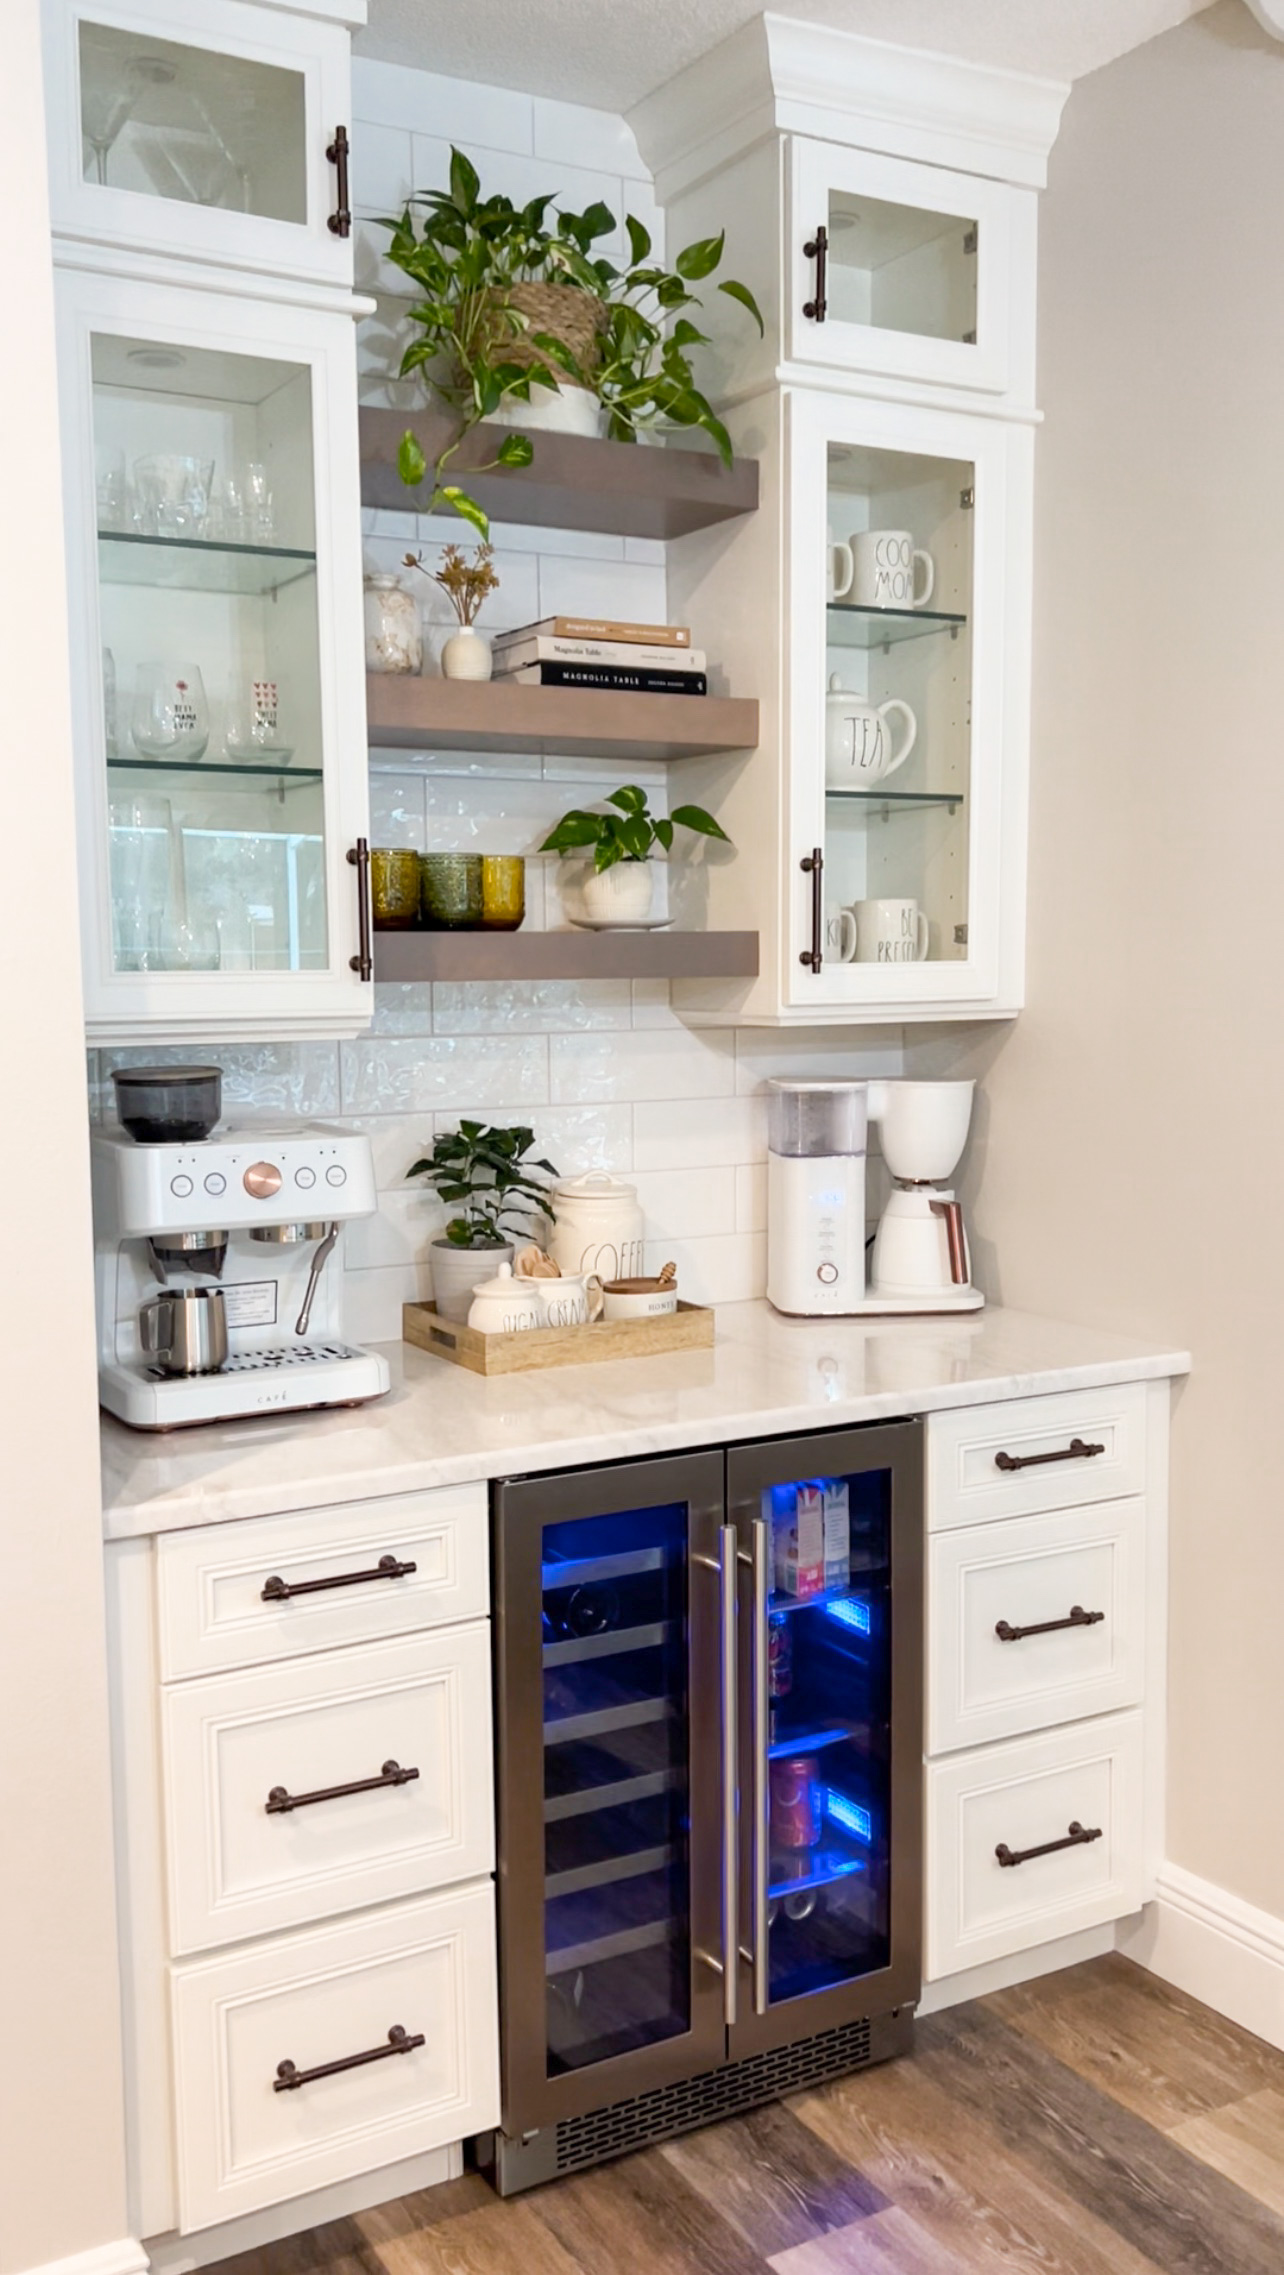
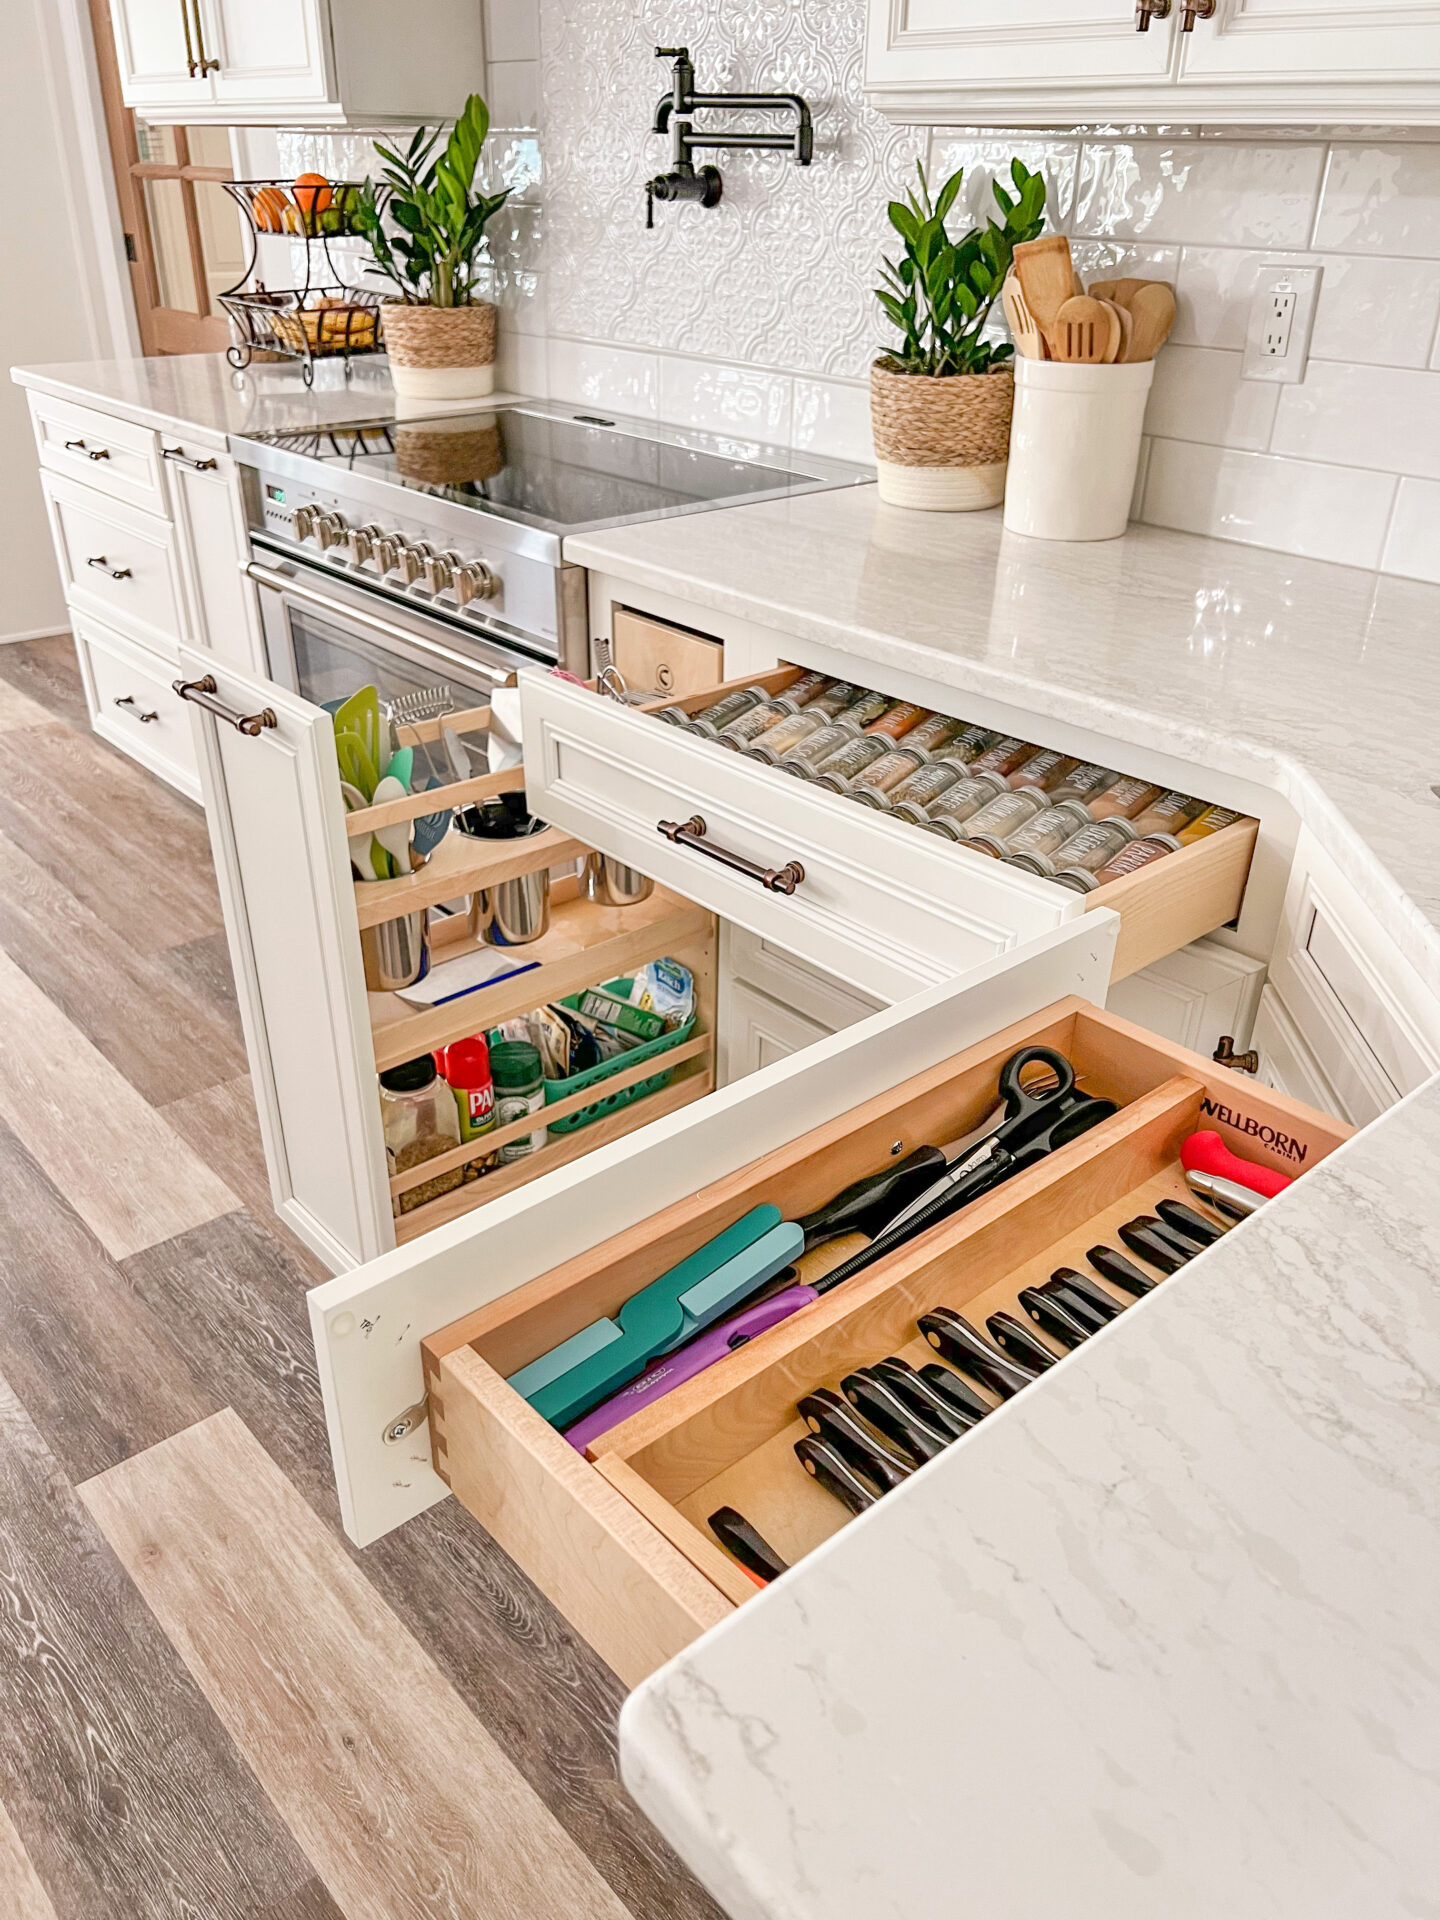
So much thought went into the flow of the kitchen. Where “stations” were located and how they functioned with one another. We reconfigured the island making it one large rectangle instead of the weird L-shape it was. This ended up giving us more counter space and more storage while also opening up the walking room in the kitchen. We also moved the main sink from the back wall to the center island creating a prep/cook station separate from a cleaning station. By centering our freestanding range and adding a large wooden hood we not only created a more functional flow but also a beautiful design focal point! We moved our pantry over next to our refrigerator allowing the creation of the beverage bar in its place. Another gorgeous focal point! Check out this blog post HERE where I go into details the different features in these different spaces.

Let’s Talk Kitchen columns!
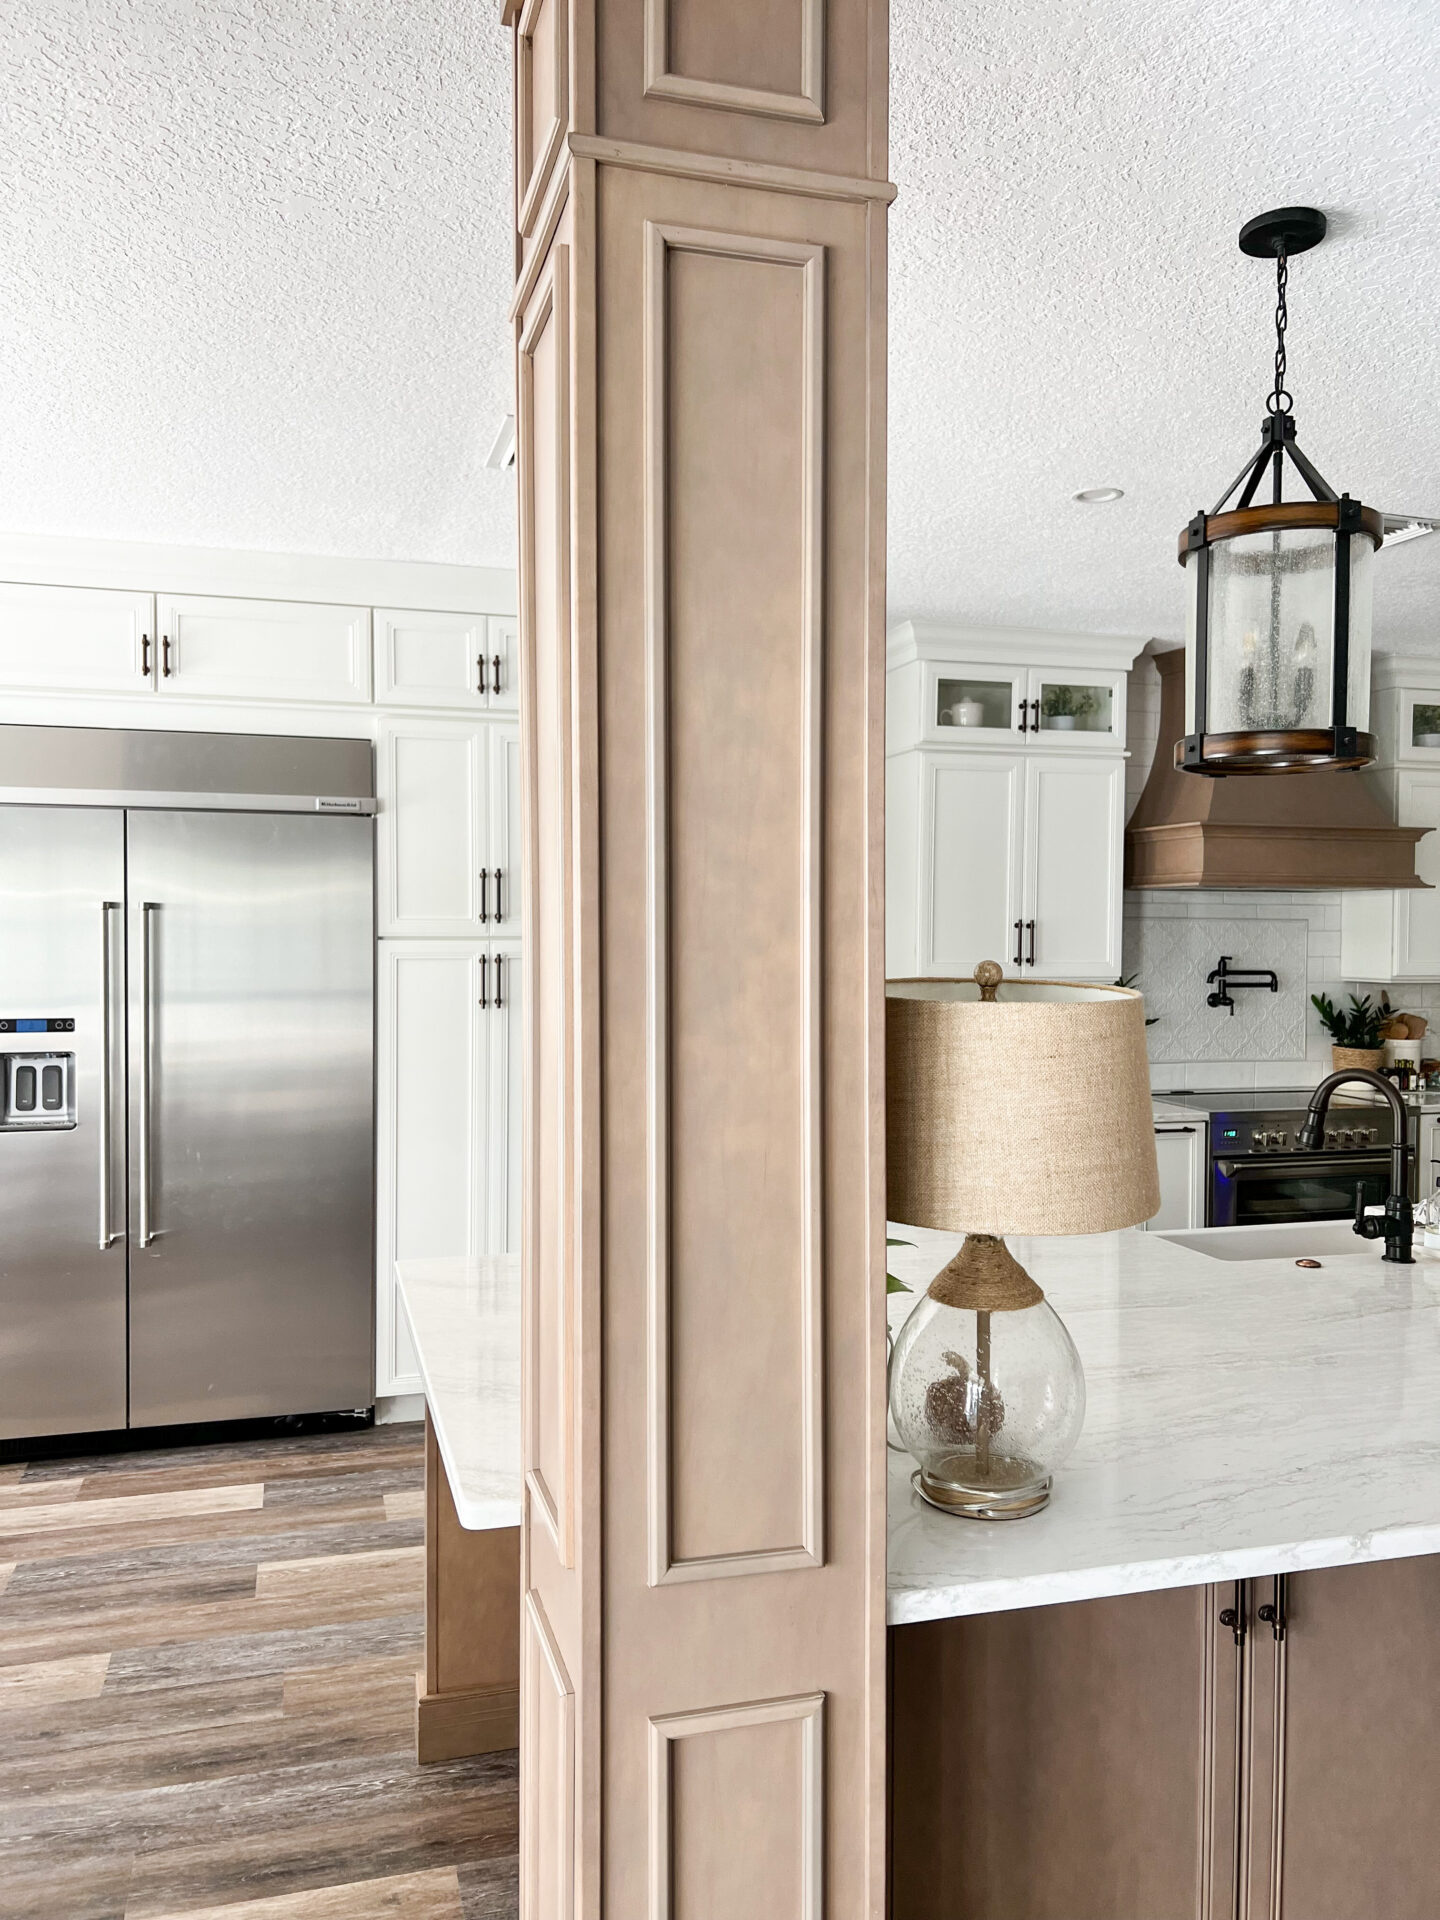
I HATED the column in our kitchen for years!! I wanted nothing more than to beat it down with a sledge hammer the first chance that I got! Unfortunately, we quickly realized that this column was structural and could not be removed. I was soooo sad!! I thought the only way to really open up this kitchen was to get rid of this eye sore. Boy was I wrong! By reconfiguring the island, raising all cabinets to the ceiling and opening up for the beverage bar….this column became a beautiful feature that I now LOVE so much!
It’s All In The Details!
As promised here are the details on the finishes that we selected for this renovation. Next to the appliances, the flooring was one of the harder decisions to be made but I am so in love with them! I love the was the colors flow throughout this space.
- Cabinets: The cabinet company we used was Wellborn cabinets. The white cabinets along the walls of the kitchen and base of our entertainment area are in the style harmony in a maple glacier finish while the island, hood, floating shelves above the coffee bar, floating shelves in our entertainment area and half bath vanity are in the style harmony with a maple oatmeal finish. We also had the pocket doors of the kitchen stained to match the oatmeal finish.
- Countertops: The Countertops in both the kitchen and half bath were 3CM Quartz from ZSlot in the color Cambria Ironsbridge
- Flooring: We installed the same flooring in the kitchen, living area, foyer and half bath. They are LVP (Luxury Vinyl Plank) from Tesoro in Luxwood weathered oak
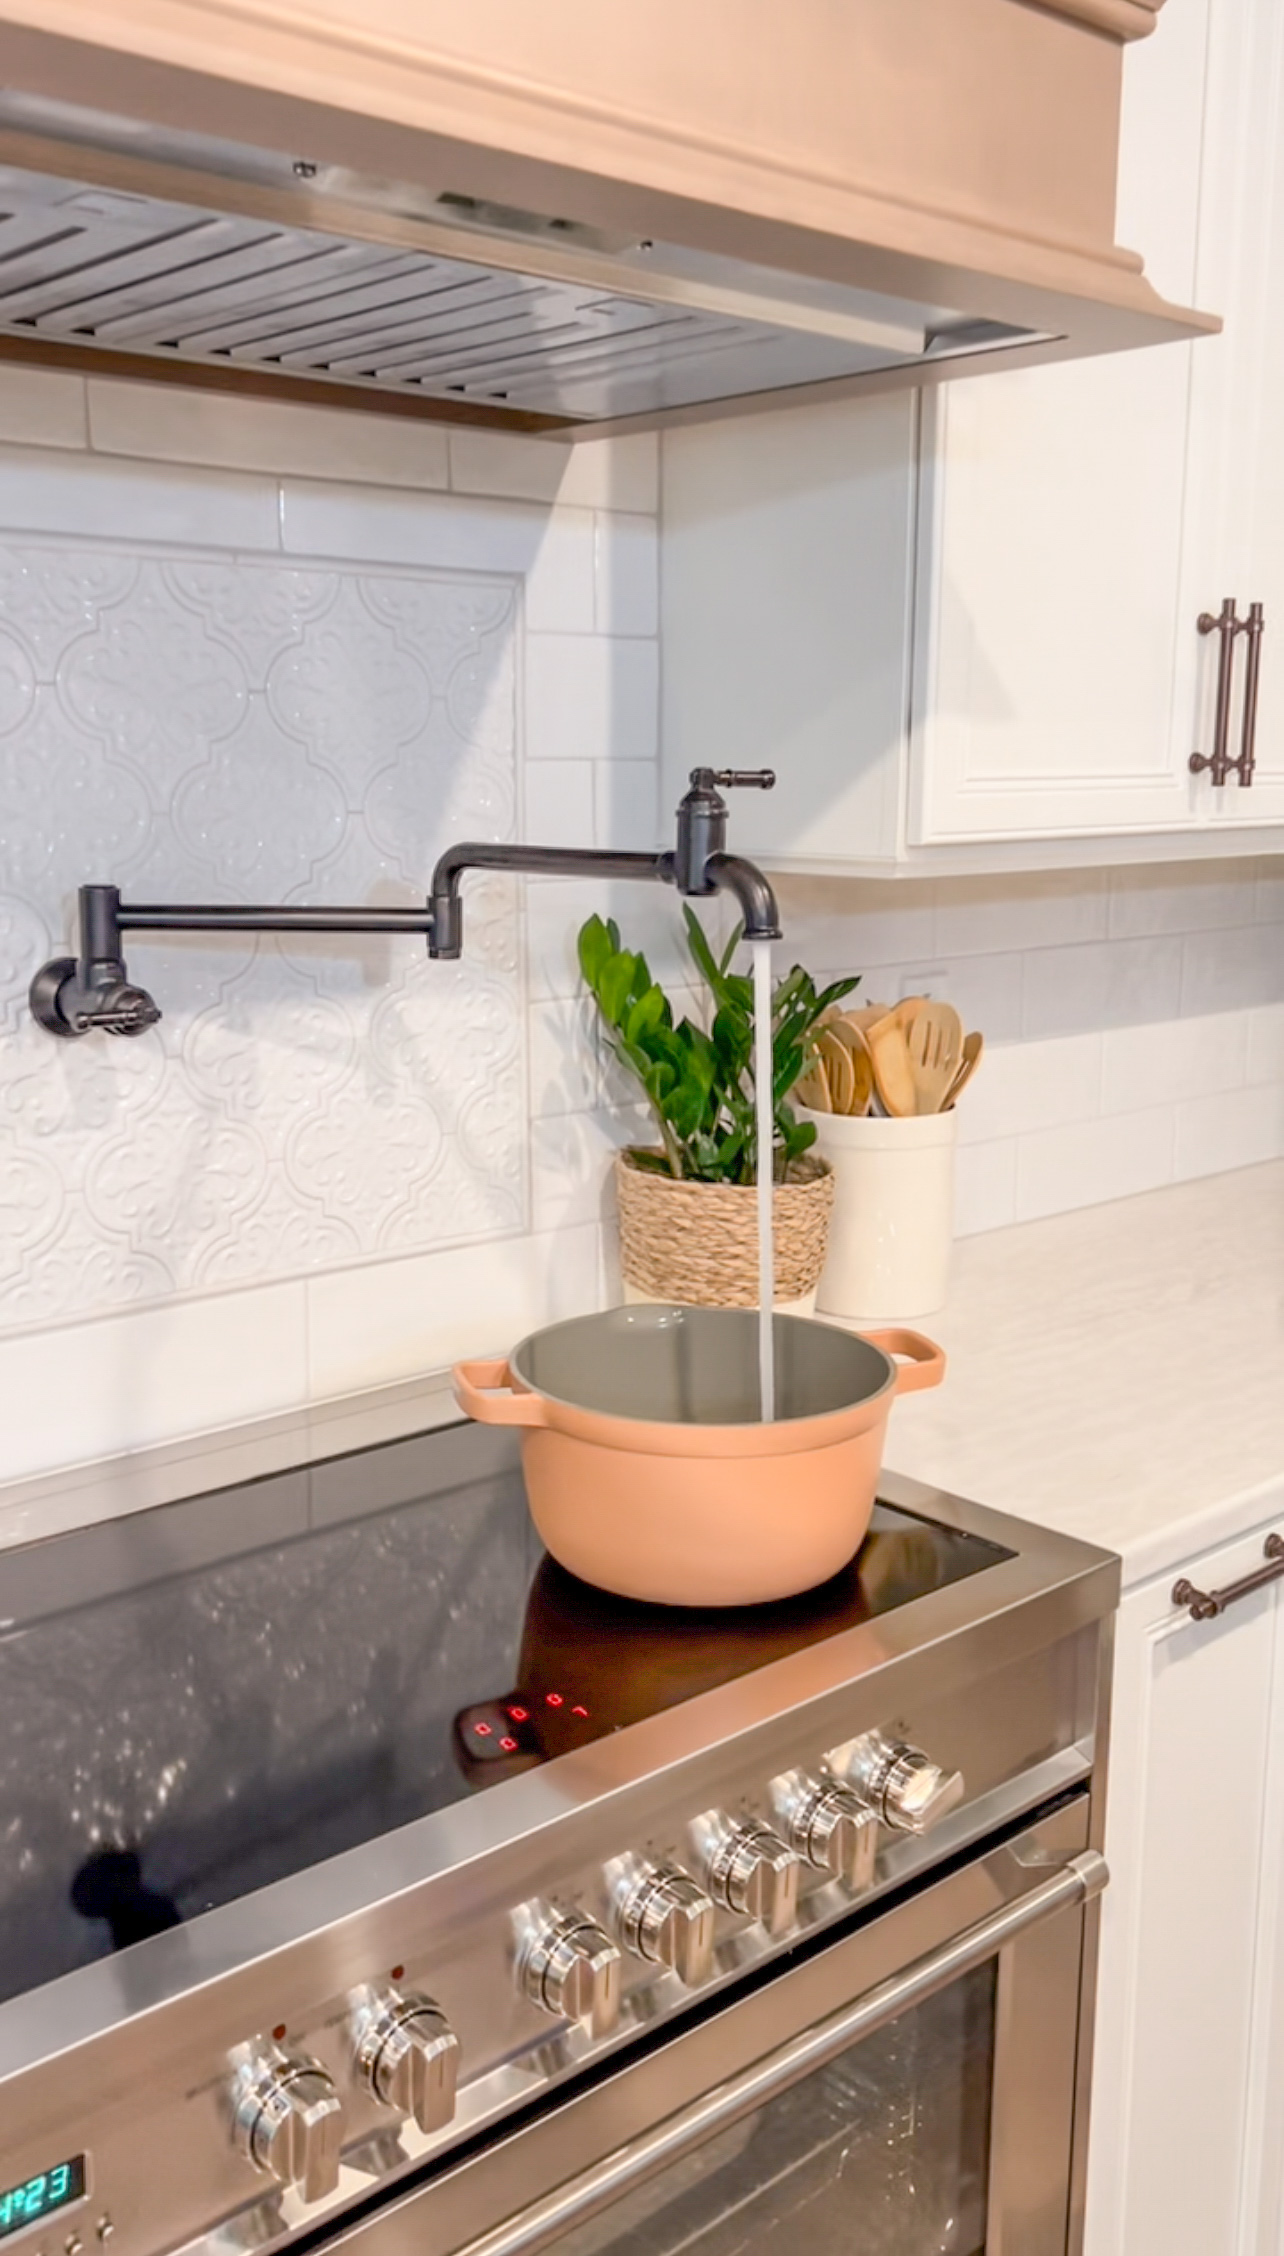
- Facet and Pot Filer: Both kitchen faucets as well as the pot filer were made by Delta in the Broderick collection in oil rubbed bronze
- Cabinet Hardware: The Cabinet hardware were Top Knobs Pit Pull in oil rubbed bronze
- Tile: The subway tile backsplash was a fun one to pick out! I had no idea how many different subway tiles there were in this world! We picked a tile from Marazzi in the style Middleton square. The accent tile (my personal favorite!) behind the range from from Tile Bar in the Style Byzantine Florid and it’s stunning!!
- Paint: I LOVE our paint color. We have it throughout our entire home! It’s by Benjamin Moore and the color is Revere Pewter. I knew I loved this paint color prior to the renovation but needed something a little brighter for the new space so we did the same color but 50% lighter. It turned out perfect!!
- Appliances: check out this blog post HERE for all the details as well as a detailed post on our Verona designer induction range HERE
I think that does it for today’s blog post! I hope this answers any questions you may have had around our modern farmhouse kitchen remodel. Please feel free to reach out should you have anymore!
Another BIG Thanks to Verona Appliances for partnering with me on today’s post.
Have the BEST day!
Ashley 🙂
